Felt Easter Egg Ornaments to Tuck into Gifts and Baskets
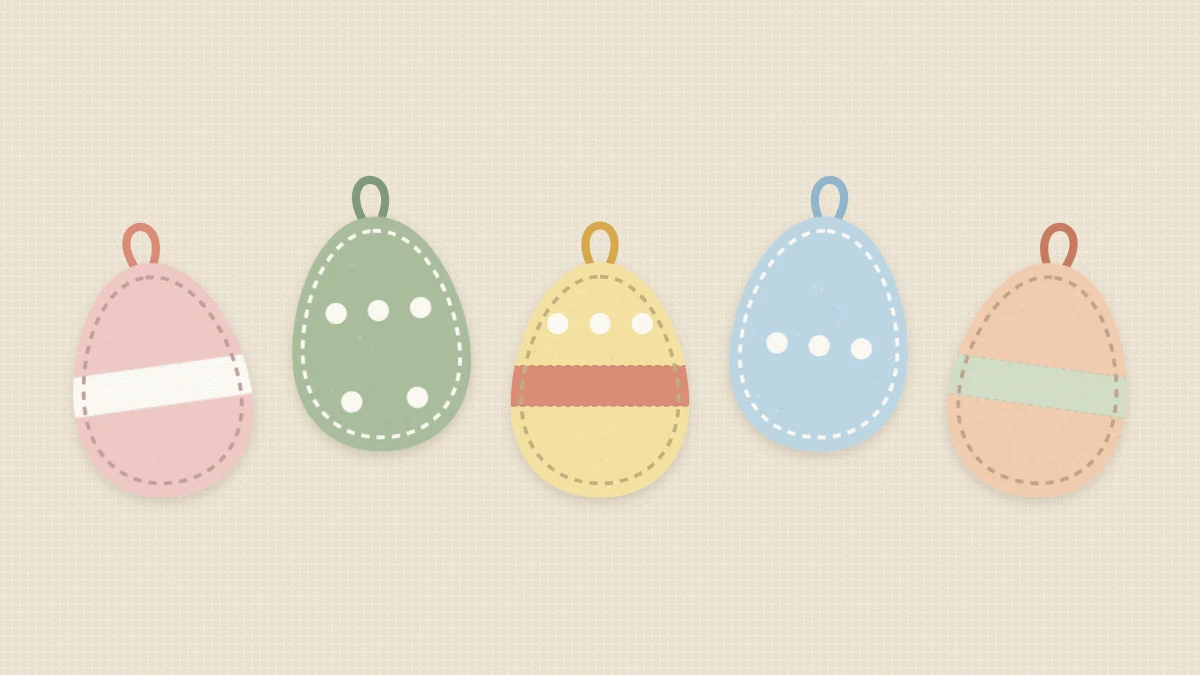
Sew small stuffed felt eggs with simple bands and dots, a stitched edge and a ribbon loop, or make a glued no-sew version. Plus five ways to use them on trees, gifts, baskets and wreaths.
Tutorial at a glance
Materials
- Felt sheets in pastel colors
- Embroidery thread and needle
- Polyester fiberfill
- Narrow ribbon or twine
- Small sharp scissors
- Fabric glue (for the no-sew version)
Felt Easter egg ornaments are small, soft and nearly weightless, which makes them some of the most useful pieces you can make for spring. One egg takes two scraps of felt, a little thread and a pinch of stuffing.
They are also forgiving. Felt does not fray, so there are no hems to turn, and the two basic stitches used here are easy to pick up even if you rarely sew. A glued version is included for anyone who would rather not thread a needle at all.
Materials and Tools
- Felt sheets in two or three pastel colors plus white or cream
- Six-strand embroidery thread and an embroidery needle
- Polyester fiberfill or felt offcuts for stuffing
- Narrow ribbon or twine, about 6 inches (15 cm) per egg
- Small sharp scissors, pins or clips, paper and pencil
- Fabric glue or tacky glue for the no-sew version
Wool-blend felt is denser and cuts with a cleaner edge than thin acrylic craft felt, though both will work. The reference page on felt explains how the types differ.
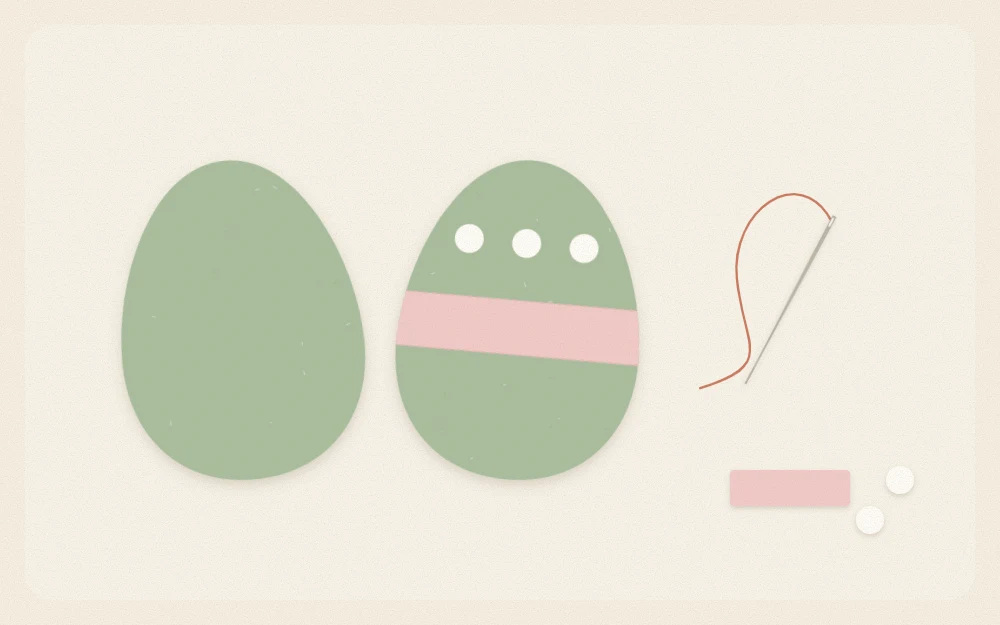
Cut Two Matching Egg Shapes
Each ornament is a front and a back cut from the same template. A finished size of about 3 inches (7.5 cm) tall and 2.25 inches (5.5 cm) wide is easy to handle and big enough to decorate.
Draw half an egg against the fold of a piece of paper, cut it out and open it to get a shape that is the same on both sides. The fold-and-cut method is explained step by step in the guide on how to cut symmetrical shapes.
Pin the template to a double layer of felt and cut both pieces at once, so the edges match exactly. Cut several pairs in different colors while the scissors are out.
Add Bands and Dots
Decorate the front piece before the egg is sewn together. Simple shapes look best at this scale:
- Bands: strips about 0.4 inch (1 cm) wide laid straight across the egg, or cut with a gentle wave or zigzag along one edge.
- Dots: small circles about 0.4 inch (1 cm) across. Trace a button or the end of a marker cap.
- Stitched details: a row of running stitches, a few cross stitches or small knots in a contrast thread.
Lay the pieces on the egg and move them around until the arrangement pleases you, then let band ends overhang the sides slightly. Sew each piece down with small straight stitches using two strands of thread, or fix it with a thin smear of fabric glue. Trim the overhanging ends level with the egg edge.
Stitch the Edge and Stuff Lightly
Use three strands of embroidery thread, about 20 inches (50 cm) long, in a matching or contrasting color.
- Place the loop. Fold the ribbon in half and sandwich the cut ends between the two felt pieces at the narrow top of the egg. Pin or clip the layers together.
- Start at the top. Hide the knot between the layers and take two stitches through the ribbon ends so the loop is anchored.
- Sew around the edge. Work in blanket stitch or whip stitch, keeping stitches about 0.2 inch (5 mm) apart and the same distance in from the edge.
- Pause with a gap. Stop when about 1.25 inches (3 cm) of edge is still open.
- Stuff. Push in small tufts of fiberfill with the blunt end of a pencil until the egg is gently rounded.
- Close. Stitch the gap shut, knot the thread and pull the tail inside the egg before snipping.
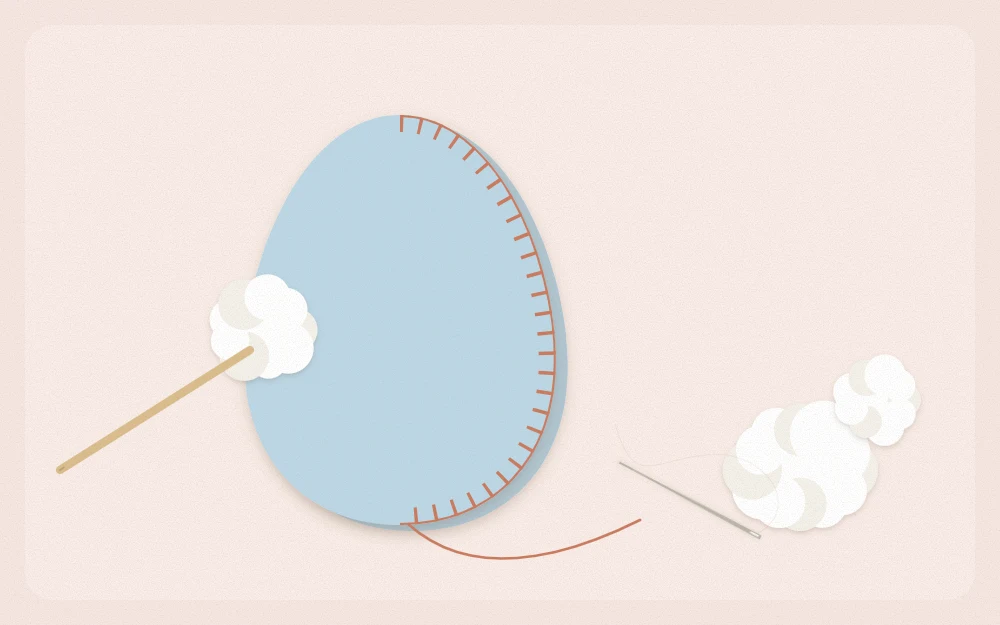
Blanket stitch or whip stitch?
Whip stitch is the quicker of the two: the needle simply passes over the edge again and again, leaving small slanted stitches. Blanket stitch catches each loop of thread to form a line running along the rim, which gives a more finished, decorative border. Either holds the egg together well.
Tip
Understuff rather than overstuff. A softly padded egg keeps a clean outline, while a firmly packed one puckers along the stitching and pulls the edges apart.
The No-Sew Glued Version
For a faster ornament, glue the egg instead of sewing it. Run a thin line of fabric glue or tacky glue around the edge of the back piece, about 0.2 inch (5 mm) in, leaving a gap on one side. Lay the ribbon ends in the glue at the top and press the front piece on.
Clip the edges and let the glue set; check the label for timing. Then add a very small amount of stuffing through the gap, glue the gap closed and clip again. Glued eggs are best kept flatter than sewn ones, since a heavy filling strains the seam.
Hot glue works too and grabs at once, but a hot glue gun is a tool for adults, and the bead of glue leaves a stiffer edge.
Ways to Use Felt Eggs
A batch of five or six goes a long way:
- On a tree. They are light enough for thin twigs and will not break if they fall, so they mix well with fragile shells on an Easter tree made with branches.
- Tied to a gift. Slip the loop over the twine as a topper that outlasts the wrapping. There are more finishing touches like this among these Easter gift wrapping ideas.
- Tucked into a basket. Nestle two or three among paper shred or moss to fill gaps with color.
- Hung in a hoop wreath. Suspend a single egg on a thread in the open center of a wooden hoop.
- Strung as a garland. Thread several onto a length of twine by their loops.
Felt ornaments with beads, buttons or other small trims belong out of reach of young children. Stored flat in a box away from damp, the eggs keep their shape from one spring to the next.
Frequently asked questions
What kind of felt is best for ornaments?
Wool-blend felt is the nicest to work with because it is dense, cuts cleanly and resists pilling. Acrylic craft felt is thinner and a little fuzzier at the edges but is widely available in many colors and is perfectly good for small eggs. Avoid very stiff felt, which does not round out when stuffed.
Which stitch should a beginner use on felt eggs?
Whip stitch is the easiest starting point. The needle goes through both layers from back to front every time, wrapping the thread over the edge. Once that feels comfortable, try blanket stitch, which adds one extra step of catching the thread loop and gives a neat line along the rim.
Can felt eggs be made without sewing?
Yes. Glue the two egg shapes together around the edge with fabric glue or tacky glue, leaving a small gap. When the glue has set, add a little stuffing, then glue the gap shut. Keep glued eggs fairly flat, because a full, firm filling can pull a glued seam open.