How to Cut Symmetrical Egg and Bunny Shapes from Paper and Felt
Use the fold-and-cut method to make even egg and bunny shapes, turn the best one into a cardstock template, and trace and cut it cleanly in paper or felt.
Tutorial at a glance
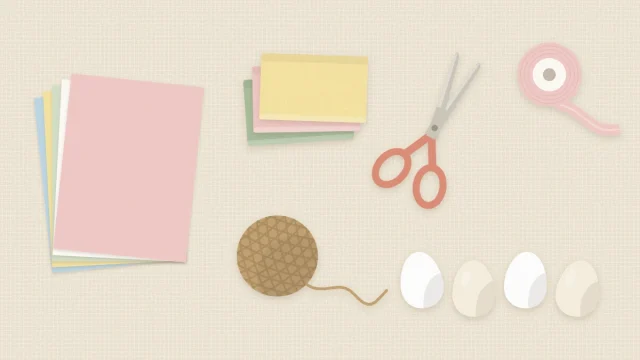
Materials
- Printer paper for drafting
- 65 lb (176 gsm) cardstock for the template
- Sharp scissors
- Soft pencil and eraser
- Marking pencil or tailor's chalk for felt
Learning how to cut egg shapes that are truly even on both sides takes one small trick: fold the paper, draw half the shape against the fold, and cut once. The same method gives you a bunny head whose ears match, a balanced tulip or a neat heart.
Once one shape looks right, it becomes a reusable template for tracing onto paper or felt at any size.
What you need
- Plain printer paper for drafting shapes
- One sheet of 65 lb (176 gsm) cardstock, or heavier, for the template
- Sharp scissors, plus small detail scissors if you have them
- A soft pencil and an eraser
- Paper or felt for the finished shapes
The fold-and-cut method for an egg
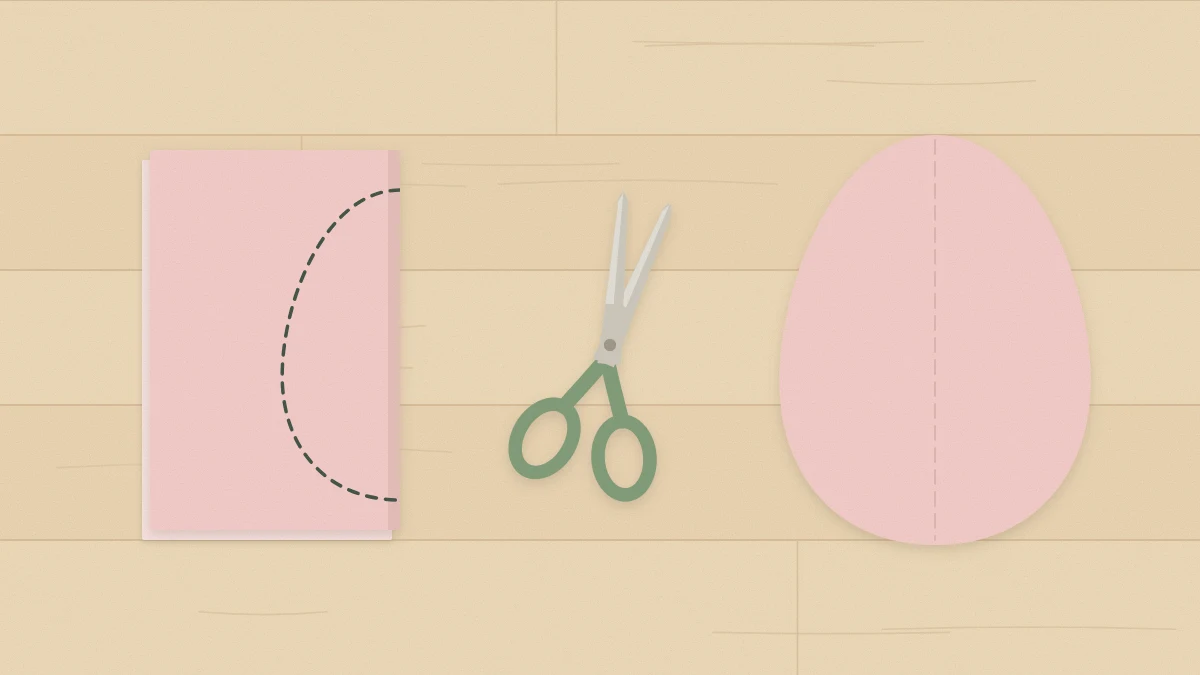
- Fold. Fold a piece of printer paper in half and crease it firmly. The fold will become the center line of the egg.
- Mark the height. Make two small pencil marks on the fold, one for the top of the egg and one for the bottom. For a garland egg, about 4 in (10 cm) apart is a useful size.
- Draw half an egg. Starting at the top mark, draw a curve that swings out and returns to the bottom mark. The widest point should sit a little below the middle, so the lower end is rounder and the top is narrower.
- Check the width. For natural proportions, the widest point of the half shape should be a bit more than a third of the height. On a 4 in (10 cm) egg, that is about 1.5 in (4 cm) from the fold.
- Cut. Keeping the paper folded, cut along the line through both layers in one continuous pass.
- Unfold and judge. Open the shape and flatten the crease. If the egg looks pointed, too round or too thin, refold it and trim, or draw a new half.
The curve must begin and end at a right angle to the fold. If the line meets the fold at a slant, the unfolded egg will have a point at the top or a dent at the bottom.
Tip
Draft on thin paper first. It costs nothing to throw away three attempts, and the fourth is usually the one worth keeping.
The same method for a bunny silhouette
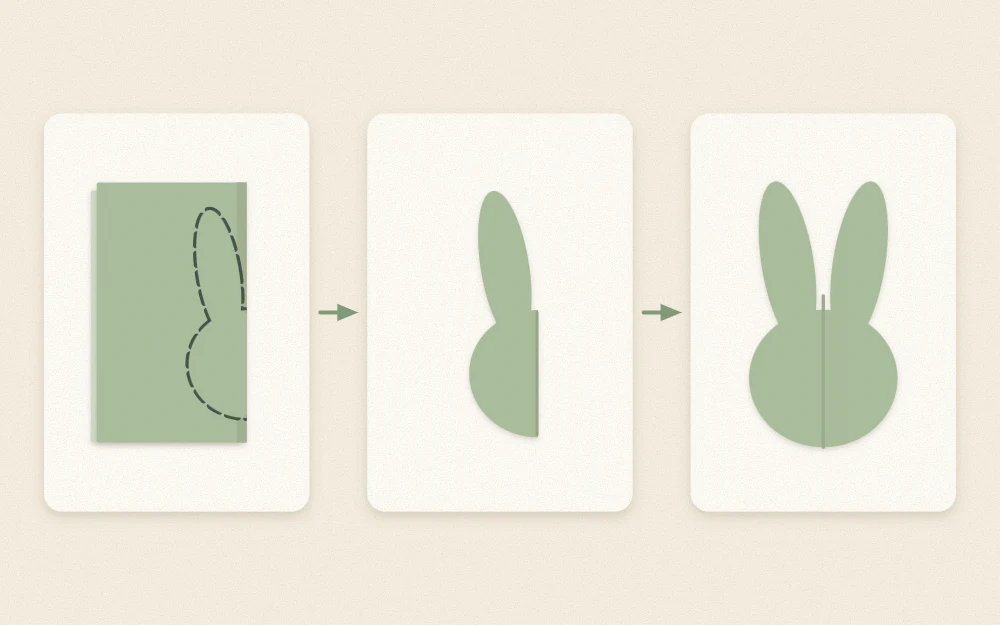
A front-facing bunny head is symmetrical, so it folds the same way. Against the fold, draw half a rounded head, then one long ear rising from the top. The ear should leave the head a short distance from the fold, so that the unfolded shape has a small gap between the two ears.
Keep the ear at least 0.5 in (1.3 cm) wide at its narrowest point. Thinner ears tear in paper and flop in felt. Cut the outside curve first, then work into the gap between the ears from the top with the tips of the scissors.
A seated bunny in profile is not symmetrical, so it cannot be folded. Draw it flat as three simple forms: a large oval body, a smaller round head and a round tail, with two ears leaning slightly back. The guide to paper bunny silhouettes covers proportions for both versions.
Make a reusable cardstock template
Once a paper draft looks right, turn it into a template so every later shape matches.
- Lay the unfolded paper shape on cardstock and hold it flat.
- Trace around it with a sharp pencil, keeping the point close against the edge.
- Cut just inside the pencil line so the template does not grow.
- Label the template in pencil with its size and store it flat in an envelope.
A cardstock template does not need a fold. It is stiff enough to trace around as many times as you like, which is what you need for a set of paper egg decorations in matching sizes.
Tracing onto paper versus felt
On paper, trace on the back with a light pencil line and cut just inside it, so no pencil shows on the finished piece. To save time, stack two or three sheets, hold them with a paper clip at the edge and cut them together.
Felt needs a different approach, because pencil hardly marks it and the fabric shifts as you trace.
- Use a marking pencil or tailor’s chalk in a shade that contrasts with the felt.
- Hold the template down firmly, or pin it through the center, and trace with short strokes rather than one long drag.
- Trace on the back, and flip the template first if the shape is not symmetrical.
- Cut one layer at a time. Stacked felt slides, and the lower piece comes out smaller.
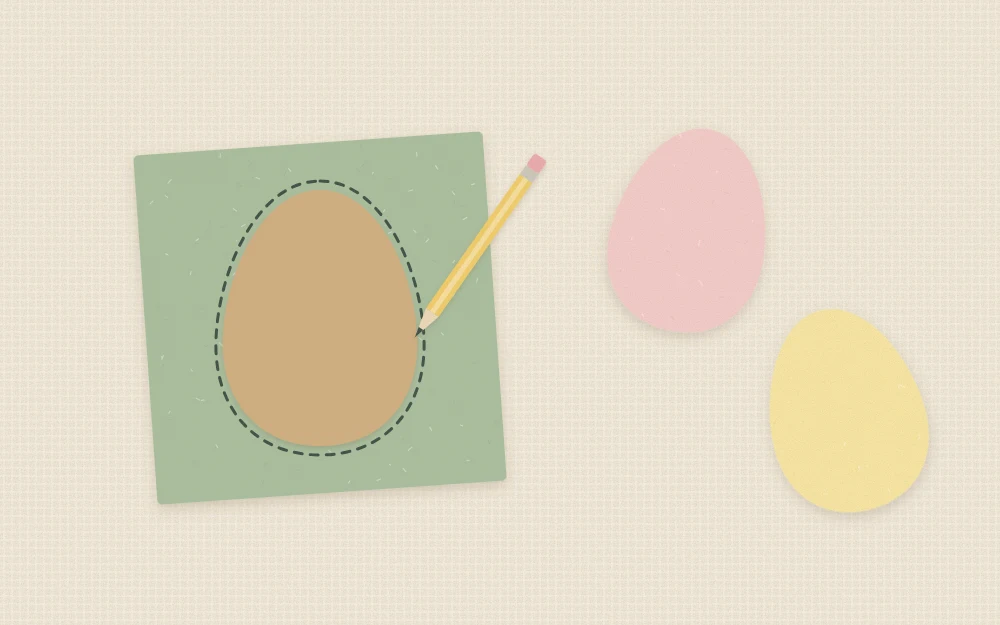
For repeated felt shapes, such as the dozen or so pieces in a felt bunny garland, trace them all first with the shapes placed close together, then cut. It wastes less felt and keeps the sizes consistent.
Cut curves by turning the material
Smooth curves come from how you move, not from the scissors.
- Keep the scissor hand almost still, pointing away from you.
- Feed the paper or felt into the blades with your other hand, turning it steadily as you cut.
- Use the middle of the blades with long, slow strokes. Snipping with the tips leaves small flat spots along a curve.
- Do not close the blades fully at the end of each stroke; stop short, reopen and continue, so there is no notch.
- For inside corners, such as the base of the ears, cut into the corner from each side rather than turning inside it.
Sizing shapes up or down
The simplest way to resize is to print or copy the template at a different scale: 50 percent for small ornament eggs, 150 or 200 percent for a statement piece. Without a printer, draw a grid of 1 in (2.5 cm) squares over the shape, draw a second grid with larger or smaller squares, and copy the outline one square at a time.
For a graded set, three sizes are plenty. Eggs of about 3, 4 and 5 in (7.5, 10 and 12.5 cm) look related without looking identical.
Frequently asked questions
Why does my paper egg come out pointed after unfolding?
The drawn line is meeting the fold at an angle. Where the curve touches the fold, at the top and at the bottom, it should run straight across for a short distance before it starts to bend. Redraw those two ends so they are square to the fold and cut again.
Can I cut several felt shapes at once?
It is better not to. Felt layers slide against each other under the scissors, so the bottom piece ends up a different size from the top one. Trace every shape first, placing them close together, then cut them out one layer at a time for matching results.
What is the right proportion for an egg shape?
A natural-looking egg is roughly three quarters as wide as it is tall, with the widest point slightly below the middle. On a folded draft that means the half shape reaches a little more than a third of the height out from the fold. Adjust to taste; slimmer eggs look more elegant in garlands.