Felt Bunny Garland with Simple Stitched Silhouettes
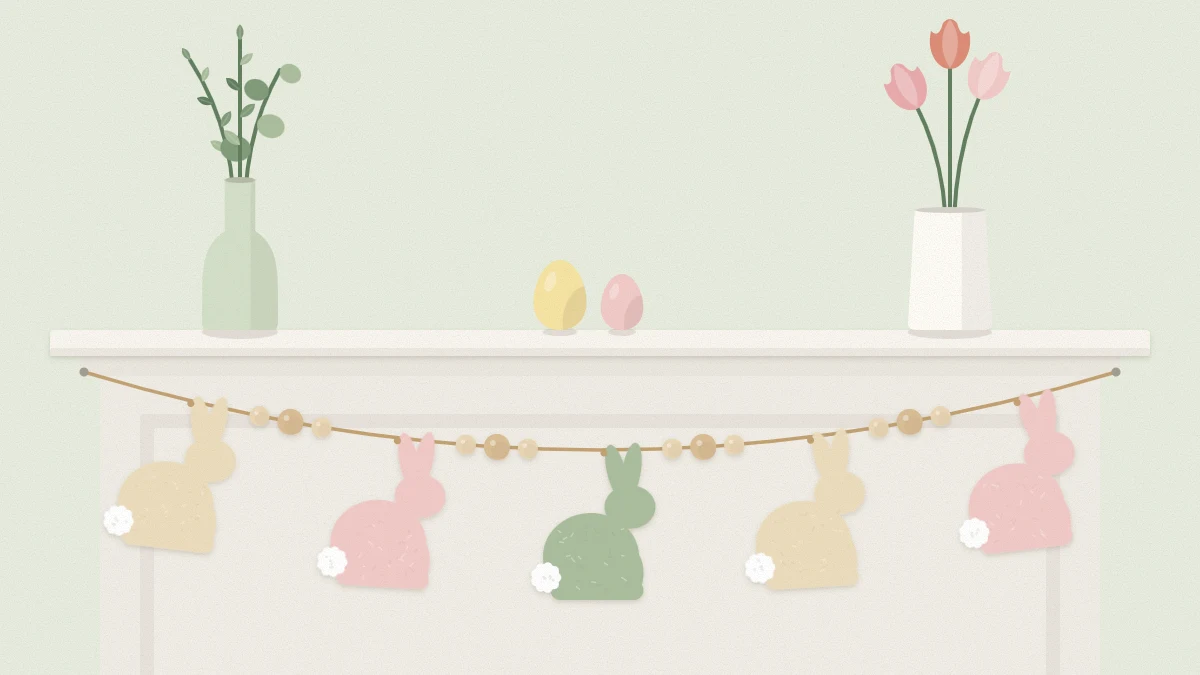
Make a garland of seated bunny silhouettes in two layers of felt, joined with a running stitch or glue, finished with pompom tails and strung on baker's twine with wooden beads.
Tutorial at a glance
Materials
- Felt sheets in 2 or 3 colors
- Embroidery floss and needle
- Small pompoms
- Baker's twine
- Wooden beads
- Tacky glue or fabric glue
A felt bunny garland brings a soft, quiet note to a mantel or shelf. Each bunny is a simple seated silhouette cut from two layers of felt, stitched around the edge, finished with a pompom tail and strung on twine with wooden beads in between.
The shapes are plain on purpose. Without faces or details, the garland looks at home among adult spring decor, and the color of the felt does most of the work. There is a stitched version and a glued one, so a needle is optional.
Felt, thread and other supplies
Wool-blend felt gives the cleanest cut edge and resists pilling. Acrylic craft felt is thinner and a little fuzzier, but it works well for a seasonal piece. The reference page on felt describes how the types differ.
- Felt in two or three colors, such as cream, blush and sage: one 9 x 12 in (23 x 30 cm) sheet makes about three two-layer bunnies
- Embroidery floss in a matching or contrasting color, and an embroidery needle
- Small pompoms, about 0.5 in (1.3 cm) across, one per bunny
- Baker’s twine
- Wooden beads with a hole wide enough for the twine
- Tacky glue or fabric glue, pins or small clips, sharp scissors
Draw a seated bunny template
The silhouette is a seated profile: a rounded body, a smaller head, and two upright ears, one slightly behind the other. Sketch it on cardstock from an oval about 3 in (7.5 cm) wide for the body, a smaller oval overlapping its upper front for the head, and two long leaf shapes for the ears. Smooth the outline where the shapes meet and cut it out.
A finished height of about 4 in (10 cm) suits most mantels. Keep the ears fairly wide, at least 0.5 in across, because narrow ears flop once the felt is stitched.
Because a seated profile is not symmetrical, it is drawn freehand rather than cut on a fold, but the same rules for clean curves apply. The guide to cutting egg and bunny shapes explains how to make a sturdy template and trace it onto felt.
Cut the felt in pairs
Each bunny needs two matching pieces. Fold the felt in half, trace the template on top with a marking pencil or a disappearing fabric marker, pin through both layers inside the outline, and cut both at once. The two layers will then match exactly.
Cut with long, smooth strokes and turn the felt rather than the scissors around the curves. Cutting just inside the traced line removes the marks.
Decide which way the bunnies will face. All facing the same direction looks orderly; flipping every second one so they face each other in pairs looks more playful. Felt has no right or wrong side, so either option uses the same pieces.
Join the layers with a running stitch
A running stitch is the simplest hand stitch there is, and on felt it reads as a neat dashed line.
- Cut about 24 in (60 cm) of floss and separate it so you are working with three of the six strands. Knot one end.
- Pin or clip the two layers together. Start between the layers at the base of the body so the knot is hidden inside.
- Stitch around the outline about 1/8 in (3 mm) from the edge, making each stitch and each gap roughly 1/8 in long. Aim for six to eight stitches per inch (2.5 cm).
- Shorten the stitches slightly around the tight curves of the ears so the line stays smooth.
- When you reach the start, take the needle between the layers, knot the floss, and trim.
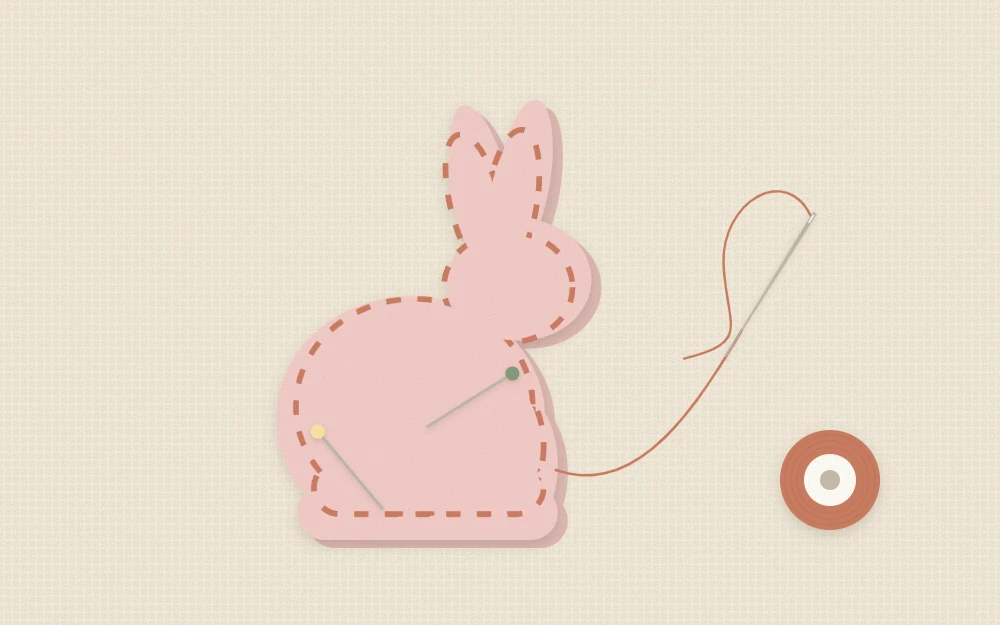
Even spacing matters more than tiny stitches. If the line wanders, slow down on the curves and take one stitch at a time rather than loading several onto the needle. For a slightly padded look, the stuffing method used for felt Easter egg ornaments works here too.
Tip
Contrasting floss, such as cream on sage, shows off the stitching. Matching floss hides small unevenness, which makes it the kinder choice for a first attempt.
The no-sew option
For a glued version, spread a thin line of tacky glue or fabric glue around one piece, about 1/8 in from the edge, and add a few dots in the middle. Press the second piece on top, check that the edges line up, and leave it under a heavy book until the glue has set. Drying time varies, so check the label; an hour or so is typical for a thin layer.
Use less glue than seems necessary. Too much soaks through and leaves a stiff, shiny patch on the surface.
Add the pompom tails
Attach one pompom low on the back of each bunny, where the curve of the body meets the base. A dot of tacky glue holds it; a couple of small stitches through the center of the pompom make it more secure. Put the tail on the side that will face the room, so check the direction of each bunny first.
Pompoms and beads are small parts, so hang the finished garland out of reach of young children and keep loose pieces away from them while you work.
String the bunnies with wooden beads
Plan on four or five bunnies per yard (0.9 m) of garland, with two or three beads between each. A 5 ft (1.5 m) mantel garland uses seven or eight bunnies. Cut the twine about 2 ft (60 cm) longer than the finished length to leave tails for tying.
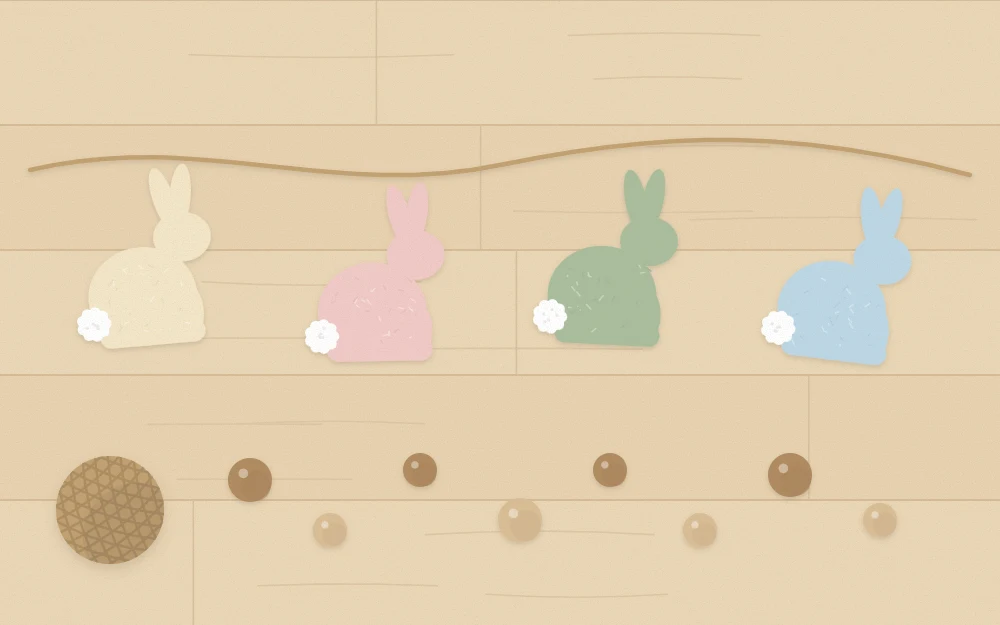
Thread the twine onto a large-eyed needle. Pass it through each bunny from side to side, between the two felt layers and just below the ears, so the bunny hangs upright and the twine is hidden. Add the beads, then the next bunny, and continue to the end. The felt grips the twine, so the bunnies stay where you slide them.
Hanging and variations
Let the garland dip slightly in the middle rather than pulling it tight, and fix the ends with removable adhesive hooks or tie them to something already on the mantel. Keep felt and twine well away from open flames and fireplace heat.
For a longer display, alternate bunnies with felt eggs, or hang a second strand below it. A paper Easter egg garland in the same colors layers well with this one. Stored flat between sheets of tissue, the garland keeps its shape for next spring.
Frequently asked questions
How many felt bunnies do I need for a mantel garland?
Measure the mantel and allow four or five bunnies for each yard, with a few beads between them. A typical five-foot mantel takes seven or eight bunnies about four inches tall. Larger bunnies need fewer per yard, and a garland that swags deeply needs one or two more.
Can I make the garland without sewing?
Yes. Glue the two felt layers together with a thin line of tacky glue or fabric glue near the edge and press them flat until set. The glued version has no dashed stitch line, so it looks plainer, but it holds up well for a seasonal decoration.
What kind of felt is best for a garland?
Wool-blend felt cuts cleanly, holds its shape and has a matte, slightly dense surface that suits simple silhouettes. Acrylic craft felt is widely available and lighter, though ears can be floppier. With thin felt, two layers joined together give each bunny enough body to hang straight.