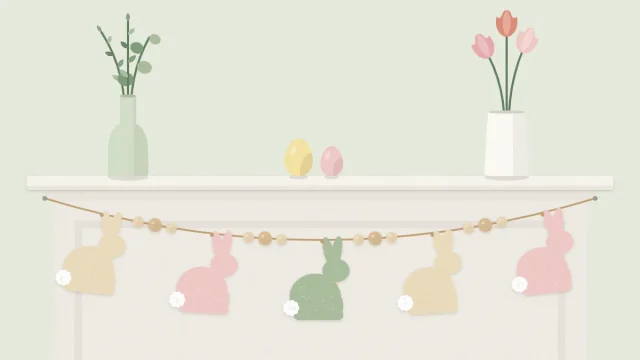
Paper Easter Egg Garland: Cut, Punch and String
A flat cardstock egg garland from start to finish: how many eggs per yard, two-hole punching so every egg faces forward, paper stripes and dots instead of paint, spacing on twine and damage-free hanging.

Tutorial at a glance
Materials
- 65 lb (176 gsm) cardstock in three or four colors
- Paper scraps for stripes and dots
- Small hole punch
- Glue stick and sharp scissors
- About 6 ft (1.8 m) of twine
A paper Easter egg garland is one of the quickest ways to bring spring color to a wall, shelf or window. The eggs are flat cardstock shapes, patterned with scraps of paper and strung on twine, so the whole project needs no paint, no drying rack and very little space.
Three details separate a neat garland from a tangled one: the number of eggs for the length, the position of the holes and the way the eggs are spaced on the twine. Each is simple once you know what to aim for.
What you need
- Cardstock in three or four colors, 65 lb (176 gsm) or a little heavier
- Scraps of patterned or plain paper for stripes and dots
- Sharp scissors and a pencil
- A small hole punch, about 1/8 in (3 mm)
- A glue stick
- Cotton or jute twine, or baker’s twine
- Removable mounting putty or removable adhesive hooks for hanging
How many eggs per yard
Eggs about 3 in (7.5 cm) tall and 2 1/4 in (5.5 cm) wide suit most walls and mantels. With a gap of roughly 2 in (5 cm) between them, plan on eight eggs for each yard (0.9 m) of garland.
| Hanging length | Eggs needed | Twine to cut |
|---|---|---|
| 1 yd (0.9 m) | 8 | About 1 2/3 yd (1.5 m) |
| 4 ft (1.2 m) | 10 or 11 | About 6 ft (1.8 m) |
| 2 yd (1.8 m) | 16 | About 2 2/3 yd (2.4 m) |
The extra twine allows for a tail of about 12 in (30 cm) at each end for tying and for the gentle dip of a swag. An odd number of eggs puts one egg at the exact center, which looks balanced over a fireplace or bed.
Cut the eggs
Make one template from scrap cardstock so every egg matches. Fold the scrap in half, draw half an egg against the fold, cut and unfold. The full method, including how to resize a shape, is in the guide to cutting symmetrical egg shapes.
Trace the template onto the back of the cardstock with a light pencil line and cut just inside the line so no marks show. Turn the paper into the scissors as you cut rather than twisting your wrist; the curves come out smoother.
Add pattern with paper, not paint
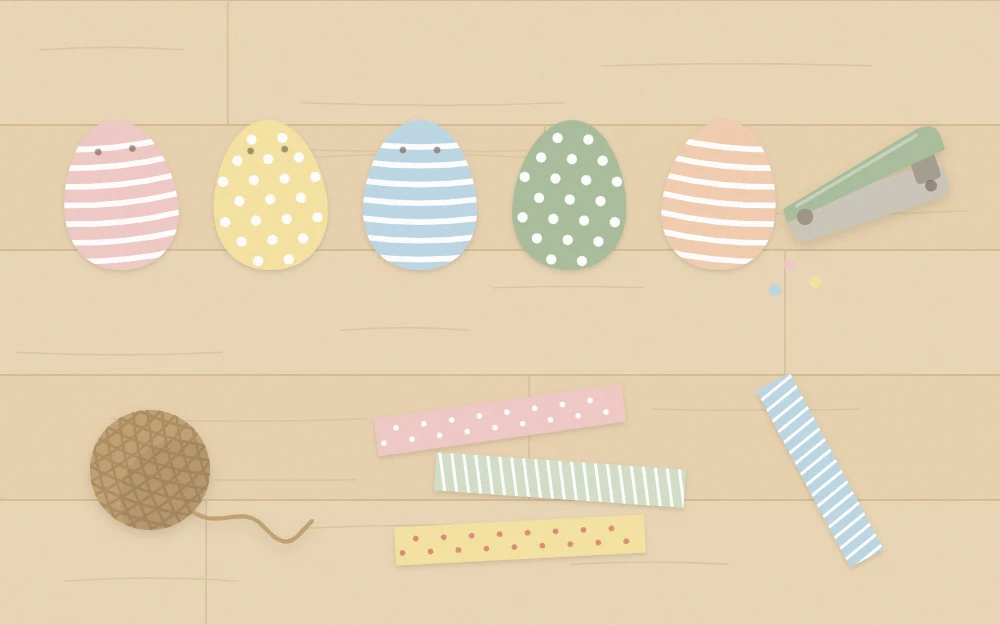
Paper strips and dots give crisp, flat color and are ready to hang as soon as the glue grips. Keep the patterns simple and repeat them along the garland.
- Stripes: glue strips 1/4 to 1/2 in (6 to 13 mm) wide straight across the egg, letting them overhang the edges. Turn the egg over and trim the excess along the outline.
- Dots: save the circles from a standard hole punch and glue them in a loose scatter or in rows.
- Zigzags: cut one edge of a wider strip into small points before gluing it down.
- Color blocks: cover the lower third of the egg with a contrasting paper and trim to shape.
Leave about one egg in three completely plain. The undecorated eggs give the eye a rest and make the patterned ones stand out.
Tip
Decorate first and punch second. Punching through a glued stripe gives a cleaner hole than gluing a stripe around an existing one.
Punch two holes so the eggs face forward
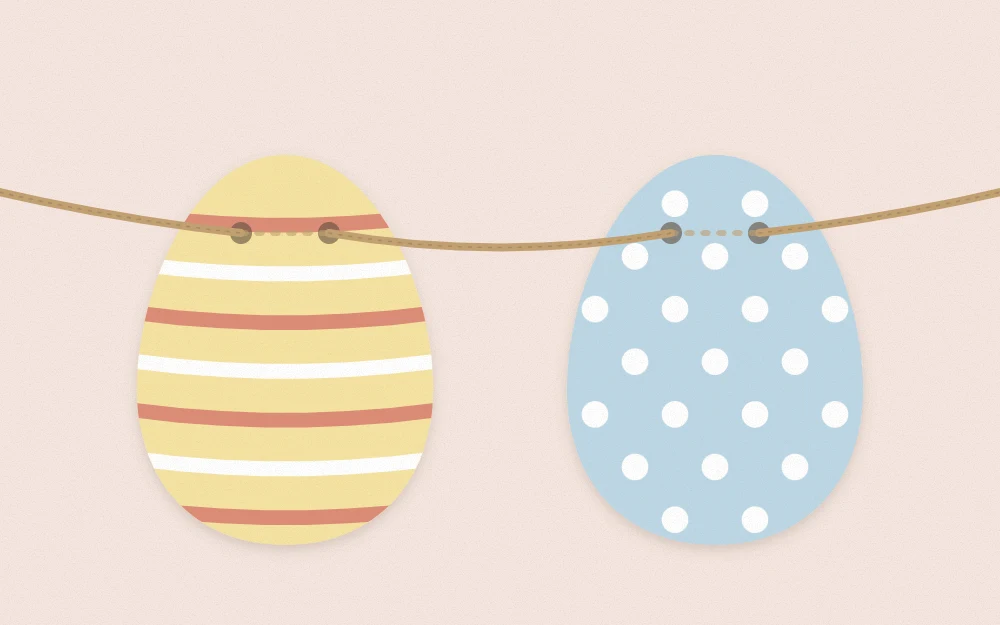
An egg hung from a single hole spins on the twine and spends half its time showing its back. Two holes side by side fix that, because the twine runs behind the egg and holds it flat.
- Mark two points about 1/2 in (1.3 cm) down from the top of the egg and 3/4 in (2 cm) apart, an equal distance from the center.
- Punch both holes. Use the first punched egg as a guide for marking the others.
- Check that the holes sit at least 1/4 in (6 mm) from the edge so the cardstock does not tear.
String and space the eggs
- Cut the twine using the table above and wrap a small piece of tape around one end to stiffen it like a shoelace tip.
- Thread from the front of the egg to the back through the first hole, then from the back to the front through the second. Only two short stitches of twine show on the front.
- Slide the first egg along to about 12 in (30 cm) from the far end.
- Add the remaining eggs in your chosen color order, leaving about 2 in (5 cm) between them.
- Hold the garland up at both ends and adjust the gaps by eye.
Rough twine usually grips cardstock well enough to hold the spacing. On smooth twine, tie a single overhand knot just outside each hole, or fix the twine to the back of each egg with a small piece of tape.
Hang it without damaging walls
A paper garland weighs very little, so it does not need nails. Press a pea-sized ball of removable mounting putty over the twine at each end, or tie the tails to removable adhesive hooks. Check the packaging for the surfaces each product suits, and test in a hidden spot on fresh or delicate paint.
Let the garland dip slightly in the middle rather than pulling it tight; a shallow swag looks softer. On a long run, add a third fixing point at the center.
The garland works above a console, across a window frame or along a shelf edge. For placement alongside other pieces, see the Easter mantel decor ideas, and for a sturdier fabric version that can be reused for years, the DIY Easter banner.
Watch out
Keep paper garlands clear of fireplaces in use, candles and heaters. On a working mantel, hang the garland only while the fire is out, or choose a shelf elsewhere.
Storing the garland
Wind the garland loosely around a piece of sturdy cardboard, laying the eggs flat against it as you go, and slip it into a large envelope. Kept dry and flat, it comes out ready to hang the following spring.
Frequently asked questions
Why do the eggs on my garland keep flipping around?
Eggs with a single hole pivot freely on the twine. Punch two holes side by side near the top and thread the twine in through one and out through the other, so it runs across the back. The egg then hangs flat and stays facing forward.
What size should the eggs be for a garland?
About 3 in (7.5 cm) tall is a versatile size for mantels, shelves and windows. Go up to 4 or 5 in (10 to 13 cm) for a long wall or a doorway seen from a distance, and reduce the count per yard so the eggs still have a gap between them.
Can I make the garland with a cutting machine?
Yes. A cutting machine produces identical eggs quickly and can cut the two hanging holes in the same pass. Use the same cardstock weight and hole positions as for hand cutting. Scissors and a single template give the same result for a short garland.