Decoupage Easter Eggs with Paper Napkins
How to apply the printed top ply of a paper napkin to blown, wooden or paper mache eggs: separating plies, tearing motifs, brushing on in small sections, smoothing wrinkles and sealing.
Tutorial at a glance
Materials
- Blown eggshells or wooden or paper mache craft eggs
- Printed paper napkins with small motifs
- Decoupage medium, matte or satin
- Soft flat brush, about 1/2 in (1.3 cm)
- Wooden skewers and a foam block for drying
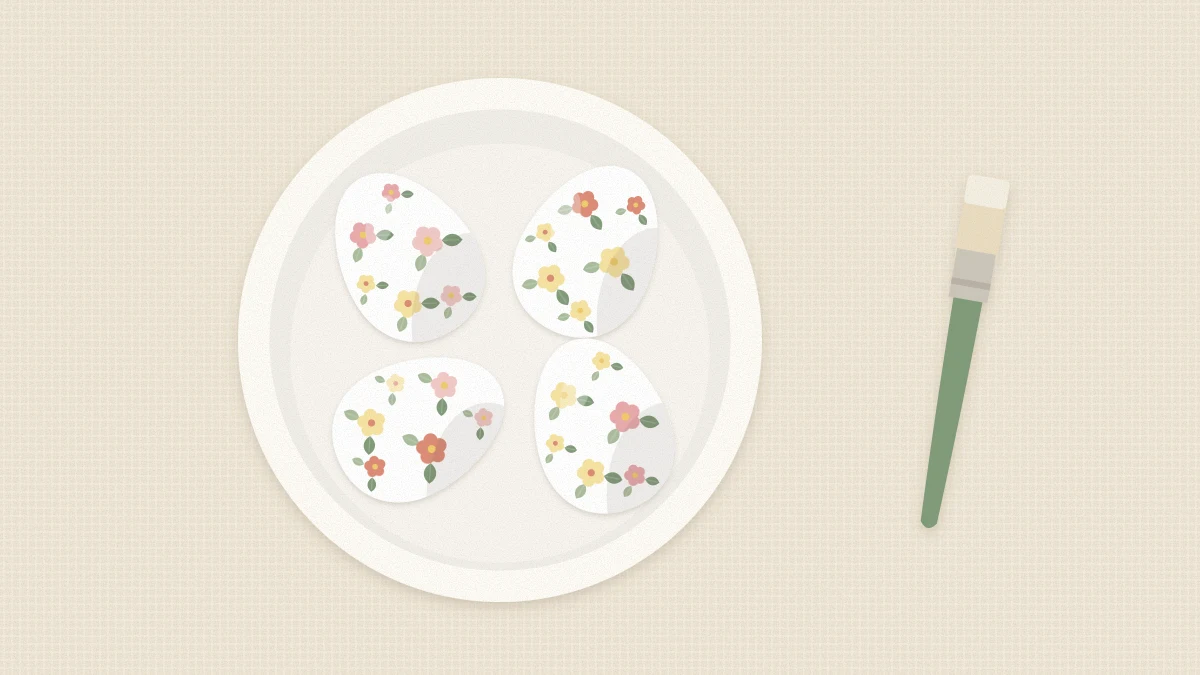
Decoupage Easter eggs look hand-painted, yet the fine flowers and leaves come from an ordinary printed paper napkin. The top layer of a napkin is so thin that, once it is brushed onto an egg with decoupage medium, its edges almost disappear and the motif seems to sit in the surface.
The technique is gentle and forgiving, and it works on blown eggshells as well as wooden and paper mache craft eggs. What it asks for is patience: small pieces, a soft brush and a light hand.
Choosing eggs: blown shells or craft forms
A white or pale surface shows a napkin print at its best, because the tissue turns translucent when wet. Three bases work well.
| Egg type | Surface | Notes |
|---|---|---|
| Blown eggshell | Smooth, naturally pale | Light and delicate; needs careful handling |
| Wooden egg | Smooth after light sanding | Sturdy; paint it white first for brighter prints |
| Paper mache egg | Slightly textured | Very light; a white base coat helps |
Craft egg forms are the simplest choice and last for years. Plastic and foam eggs can be used too, though they generally need a coat of white acrylic craft paint so the medium has something to grip.
Handling real eggshells
To use real shells, empty them with an egg-blowing pump or a bulb syringe instead of blowing by mouth, then rinse the shells and let them dry fully, inside and out. Wash your hands, tools and work surfaces with soap and warm water after touching raw egg. The whole process is set out in the guide on how to blow out eggs.
Decorated eggs are display pieces only and are not for eating. For anything about eating or storing eggs, follow the USDA guidance on shell eggs.
What you need
- Eggs of your chosen type, clean and dry
- Printed paper napkins with small motifs
- Decoupage medium in a matte or satin finish
- A soft, flat brush about 1/2 in (1.3 cm) wide
- Wooden skewers and a block of floral foam or a tall glass for drying
- A small dish of water and a sheet of plastic wrap
Small-scale prints suit the curve of an egg: sprigs, single blossoms, leaves and tiny dots. Large designs wrinkle because flat paper cannot follow a tight curve. To compare decoupage medium with other adhesives, see the guide to the best glue for Easter crafts.
Prepare the napkin motifs
Most printed napkins have two or three plies, and only the printed top ply is used. Rub a corner between finger and thumb until the layers part, then peel the plain backing away. Any backing left behind will stop the tissue from bonding and will lift later.
Tear the motifs out instead of cutting them. A torn edge is feathery and melts into the egg, while a scissor-cut edge leaves a visible line. For control, trace around the motif with a damp fine brush and pull the paper apart along the wet line.
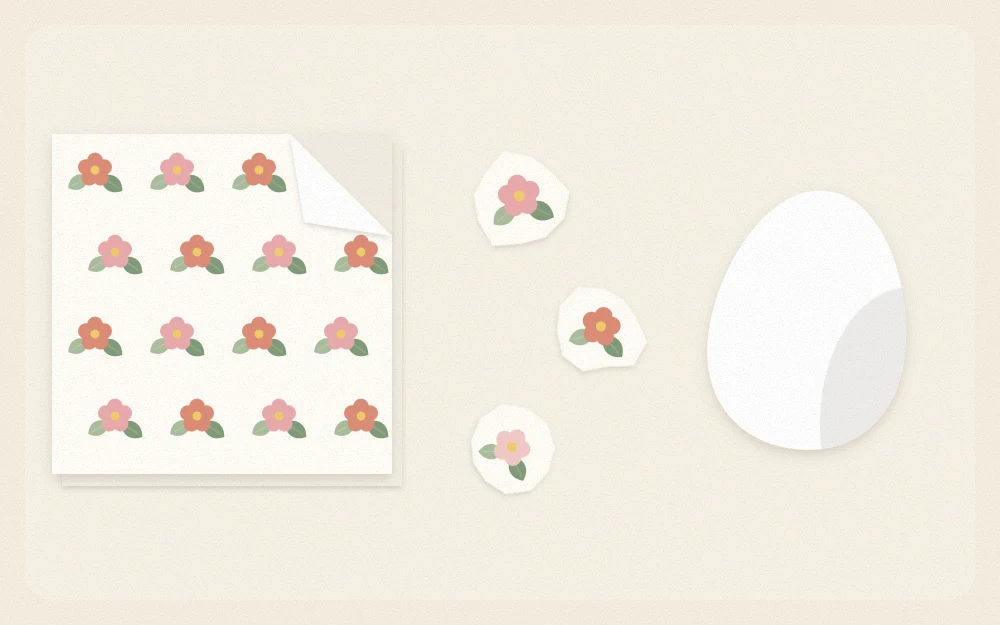
Keep each piece smaller than about 1 1/2 in (4 cm) across. Lay the torn motifs on the table and plan the arrangement before any medium goes on: a few flowers scattered with space between them looks lighter than full coverage.
Apply the motifs step by step
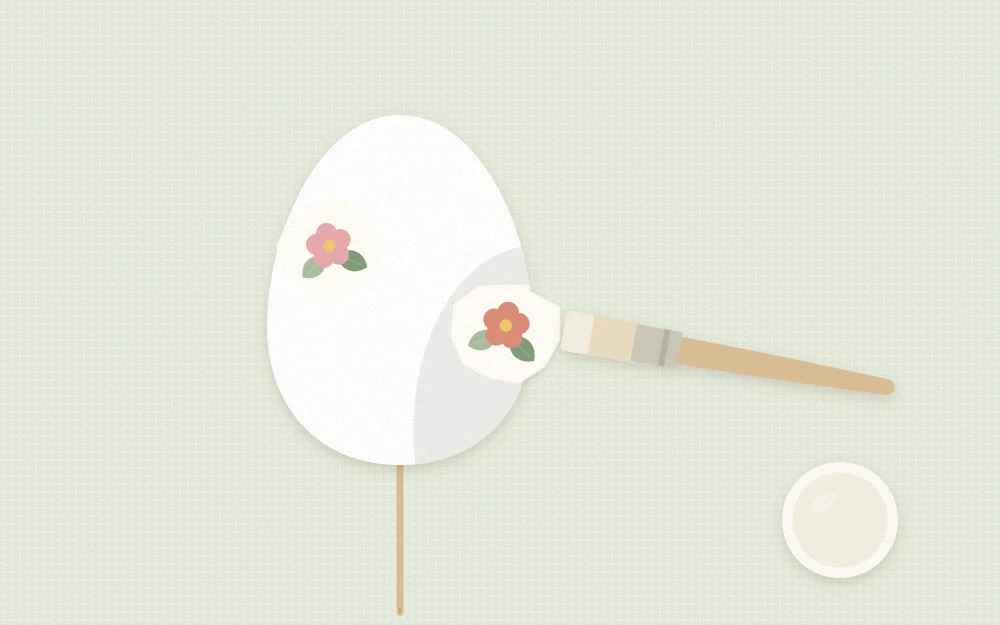
- Mount the egg. Slide a blown shell or a drilled craft egg onto a skewer. For a solid egg, rest it in a bottle cap and work on one half at a time.
- Brush on a thin patch of medium. Cover an area only slightly larger than the first motif. Too much medium makes the tissue slide and tear.
- Place the motif. Lower the tissue onto the wet patch, touching the center down first.
- Brush from the center outward. Load the brush lightly and stroke from the middle of the motif to its edges with almost no pressure, easing air and wrinkles out as you go.
- Repeat in small sections. Turn the egg and add the next motif, overlapping the feathered edges slightly where pieces meet.
- Leave it to dry. Stand the skewer upright in the foam block until the surface is dry to the touch, often about 20 to 30 minutes; check the label on your medium.
Tip
For a stubborn wrinkle, lay a piece of plastic wrap over the wet motif and smooth it with a fingertip through the plastic. The tissue stays put instead of sticking to your skin.
Smoothing wrinkles and fixing tears
Some fine creasing is part of the look and tends to flatten as the medium dries. Deep folds are better dealt with while the tissue is wet: lift the nearest edge with the tip of the brush, add a touch of medium underneath and lay it down again.
A small tear can be closed by nudging the two sides together with a damp brush. When a piece is beyond saving, wipe it away while wet and start that section again, or cover the spot once dry with a small leaf or petal.
Seal and dry
When every motif is dry to the touch, brush one thin, even coat of medium over the whole egg, including the plain areas between motifs, so the sheen is uniform. Long strokes from end to end leave the fewest brush marks.
Return the egg to its skewer and let it dry without touching anything. A second thin coat adds durability, particularly on blown shells. Full hardening usually takes longer than surface drying, so check the label and leave the eggs overnight before stacking them in a bowl.
Watch out
Blown shells stay fragile even when sealed. Hold them by the ends, not the sides, and keep them out of reach of young children and pets.
Displaying and storing decoupage eggs
A shallow dish or a nest of paper shred shows the patterns from all sides. Eggs with a hole at each end can be threaded with narrow ribbon and hung from branches. For contrast in the same bowl, mix them with a few plain eggs or with textured yarn-wrapped Easter eggs.
Store the eggs in a cardboard egg carton or wrapped singly in tissue, somewhere dry and out of direct sun.
Frequently asked questions
Why does the napkin wrinkle when I decoupage an egg?
Flat tissue has to stretch around a curve, so large pieces fold over themselves. Use motifs under about 1 1/2 in (4 cm), apply a thin layer of medium and brush from the center outward with very light pressure. Fine creases usually relax as the egg dries.
Do I need to paint eggs white before decoupage?
Napkin tissue becomes translucent when wet, so the color beneath shows through. White or pale eggshells and white paper mache need no base coat. Bare wood, brown shells and colored plastic give brighter, truer prints after one coat of white acrylic craft paint that has dried fully.
Can I use regular white glue instead of decoupage medium?
White craft glue thinned with a little water will hold napkin tissue, but it can dry less evenly and may stay slightly tacky. Decoupage medium is made to act as both glue and sealing coat, which gives a more consistent finish and a choice of matte, satin or gloss.