Embroidery Hoop Easter Wreath with Greenery and Ribbon
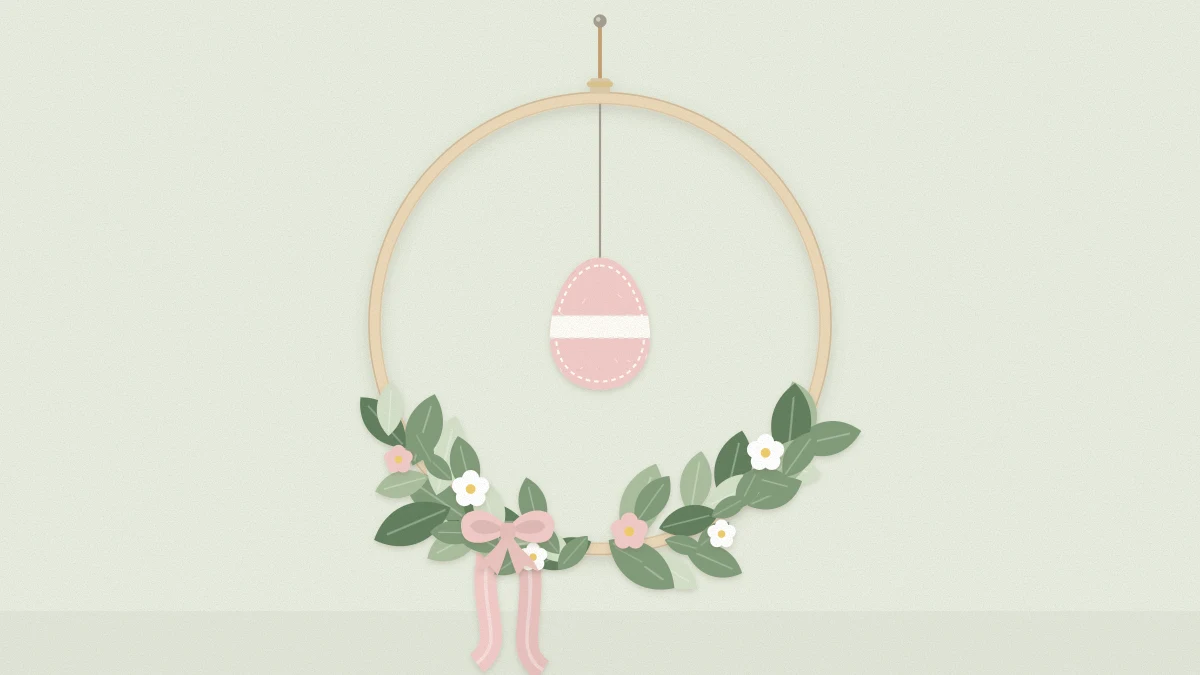
A light, modern wreath built on a wooden embroidery hoop: wire a small bundle of greenery and blossoms to the lower third, add one accent and long ribbon tails, then group several hoops on a wall.
Tutorial at a glance
Materials
- 10 to 12 in (25 to 30 cm) wooden embroidery hoop
- Short faux greenery stems and blossom sprays
- Thin floral wire and wire cutters
- About 1.5 yd (1.4 m) soft ribbon
- One felt or paper accent
An embroidery hoop Easter wreath is the lightest wreath you can make, in both weight and looks. A slim wooden ring, a small cluster of greenery and a length of ribbon are the whole design, and most of the hoop is left bare on purpose.
That open shape suits modern rooms, narrow doors and walls where a full, bushy wreath would feel heavy. It is also quick: once the stems are cut, assembly takes well under an hour.
What You Need
- One wooden embroidery hoop, 10 to 12 inches (25 to 30 cm) across
- Three to five short faux greenery stems, such as eucalyptus, olive or fern
- Two or three sprays of small faux blossoms
- Thin floral wire (about 26 gauge) and wire cutters
- Floral tape, optional
- About 1.5 yards (1.4 m) of ribbon, 1 inch (2.5 cm) wide or narrower
- One felt or paper accent and a short length of thread
Faux stems last the whole season and can be reused. Blossoms made from paper work just as well and let you match colors exactly; the petals and centers in the guide to paper spring flowers are the right scale for a hoop.
Use the Inner Ring
An embroidery hoop comes as two rings: an outer one with a metal screw clasp and a plain inner one. Loosen the screw and separate them. The inner ring is a clean, unbroken circle and is the one to use.
Set the outer ring aside for another project. If you would rather use it, turn the clasp to the top and hide it behind the hanging ribbon.
Bare wood looks fresh as it is. For a softer finish, brush on one thin coat of white or pastel acrylic craft paint and wipe most of it off with a rag while it is still wet, so the grain shows through. Let it dry before adding stems; check the label for timing.
Wire the Greenery to the Lower Third
The decoration sits low and slightly off-center, covering roughly the bottom third of the ring. Picture a clock face: the greenery runs from about 4 o’clock to 8 o’clock, or shifts a little to one side for an asymmetric look.
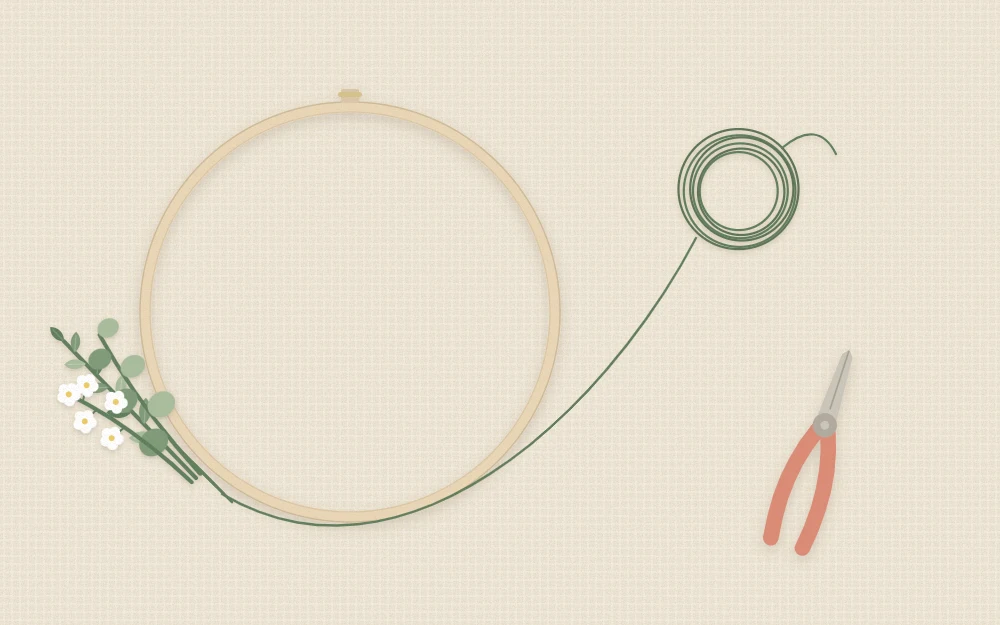
- Cut the stems. Trim greenery into pieces 5 to 7 inches (13 to 18 cm) long. Shorter pieces follow the curve of the hoop more easily than long ones.
- Build two small bundles. Layer two or three greenery pieces with one blossom spray on top, stems together. Bind each bundle with a few turns of wire or floral tape.
- Attach the first bundle. Lay it along the hoop with the tips pointing left and the stem ends at the bottom center. Wrap wire tightly around stems and hoop three or four times, twist the ends together at the back and snip.
- Attach the second bundle. Lay it the opposite way, tips pointing right, with its stem ends overlapping the first set.
- Cover the join. Wire one more blossom spray or a pair of leaves over the spot where the stem ends meet.
- Adjust. Bend the tips so they follow the ring, and tuck any wire ends flat against the back so they cannot scratch a door or wall.
Tip
If the wire slides around on the smooth wood, wrap that section of hoop with floral tape first. The slightly tacky surface gives the wire something to grip.
Add One Accent
A single small accent turns a spring hoop into an Easter one. Choose one and leave it at that:
- A stuffed felt egg hanging in the open center on a thread
- A flat paper egg or bunny silhouette cut from cardstock
- A small craft bird or a cluster of three tiny eggs wired into the greenery
For a hanging accent, tie a thread to the top of the hoop and let the piece drop until it sits just above the greenery. The little stitched eggs in the tutorial for felt Easter egg ornaments already have a loop at the top, so they tie on in seconds.
Finish with Long Ribbon Tails
Ribbon gives the hoop movement. There are two good ways to use it:
- Tails at the bottom. Fold a 1 yard (0.9 m) length in half, loop it around the hoop over the stem join and pull the ends through. Let the two tails hang 12 to 16 inches (30 to 40 cm) below the ring and cut the ends at a slant.
- A hanger at the top. Loop a second length over the top of the hoop and knot the ends together to make a hanging loop about 6 inches (15 cm) long.
Soft materials hang best: silk-style ribbon, cotton tape, velvet or a torn strip of linen. Stiff wired ribbon tends to stick out rather than fall.
Group Two or Three Hoops on a Wall
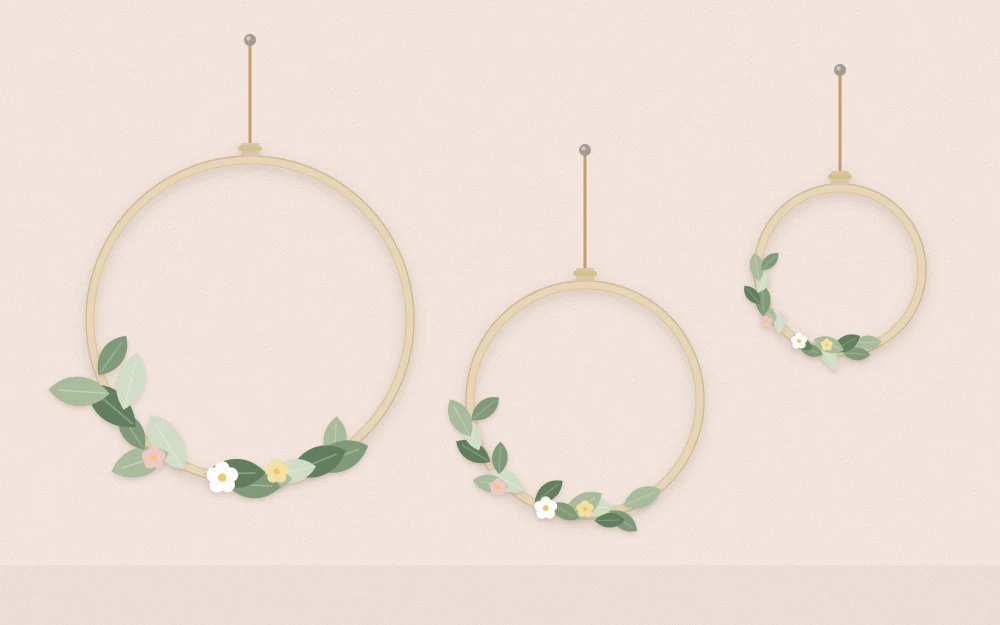
One hoop is a wreath; three together are a wall arrangement. Use hoops in different sizes, such as 6, 9 and 12 inches (15, 23 and 30 cm), and keep the same greenery and ribbon color across all of them.
Hang them at staggered heights with the largest lowest or in the middle, and leave 2 to 3 inches (5 to 8 cm) between rings. Shift the greenery to a different position on each hoop so the group does not look stamped out. Only one of the three needs an accent.
Hanging and Care
A finished hoop weighs very little, so a small nail, a removable adhesive hook or a ribbon looped over the top of a door will hold it. Follow the weight limit and surface advice on any adhesive hook.
This wreath is best indoors or on a sheltered door. Paper and felt accents do not stand up to rain, and direct sun fades ribbon over a few weeks. At the end of the season, lay the hoop flat in a shallow box with tissue over the greenery.
If you want something fuller for the front door, the classic DIY Easter wreath on a grapevine base is the natural next project.
Frequently asked questions
What size embroidery hoop is best for a wreath?
A hoop of 10 to 12 inches across suits most interior doors and walls and leaves enough open space in the center for a hanging accent. Smaller hoops of 6 to 9 inches work well in a group or on a cabinet door, where a full-size ring would look too large.
Can hot glue be used in place of floral wire?
It can, but wire is the better choice for stems. Wire holds a curved bundle firmly against the ring and can be undone at the end of the season so the hoop is reusable. If you do use a hot glue gun, it is a tool for adults, and the bond on smooth wood may loosen.
Can a hoop wreath hang on an outside door?
Only on a covered, sheltered door. The hoop and faux greenery cope with a little damp air, but felt and paper accents soften in rain and ribbon fades in strong sun. For an exposed door, leave off the paper pieces and use weather-tolerant faux stems only.