Easter Place Settings: Napkin Folds, Name Cards and Small Details
Build one Easter place setting in layers, then repeat it: a bunny-ear napkin fold tied around a craft egg, a flat pocket fold, egg-shaped name cards and one small finishing detail per guest.
Tutorial at a glance
Materials
- Cloth napkins about 18 to 20 in (46 to 51 cm) square
- Plain craft eggs in wood or paper mache
- Twine or narrow ribbon
- 65 lb (176 gsm) cardstock for name cards
- Sharp scissors
- Short sprigs of faux or fresh greenery
Good Easter place settings do a lot of work for very little material. A folded napkin, a plain egg, a card and a sprig are enough to make each seat look considered, and none of it takes more than a few minutes per guest once you have practiced the fold.
The approach here is to build one setting completely, check it from the chair, and only then repeat it around the table.
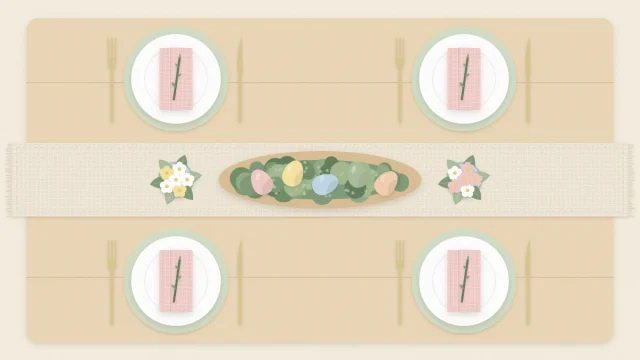
Build one setting in layers
Think of the setting as a short stack, widest at the bottom. Each layer should show a rim of the one beneath it.
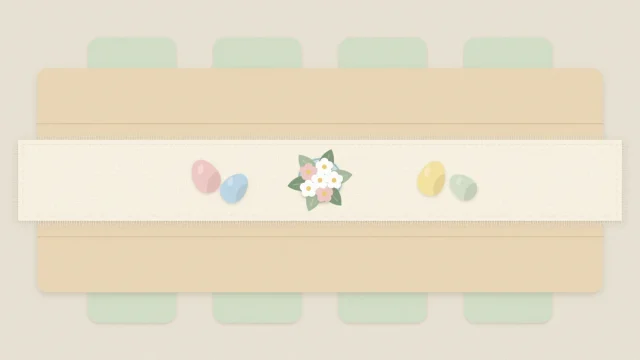
- Base. A charger, a woven mat or the bare table. If you are using a runner, check its width in the no-sew table runner guide before you decide on mats.
- Plate. One dinner plate, with a smaller plate on top only if the meal calls for it.
- Napkin. Folded and placed on the plate or to the left of it.
- Cutlery and glass. Forks to the left, knife and spoon to the right, glass above the knife.
- Detail. A name card and one small natural or handmade element.
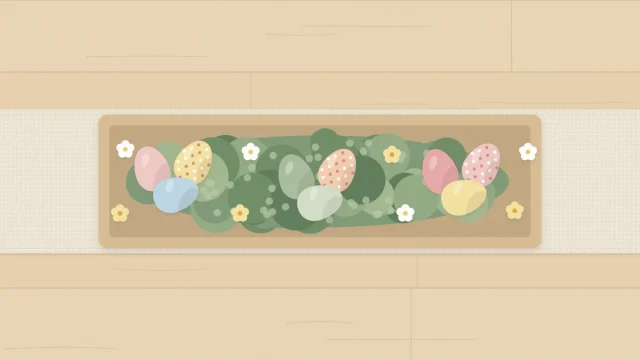
Keep to two colors plus a neutral. If the whole table is still undecided, settle the palette and centerpiece first with the Easter table planning guide, then return to the individual seats.
The bunny-ear napkin fold
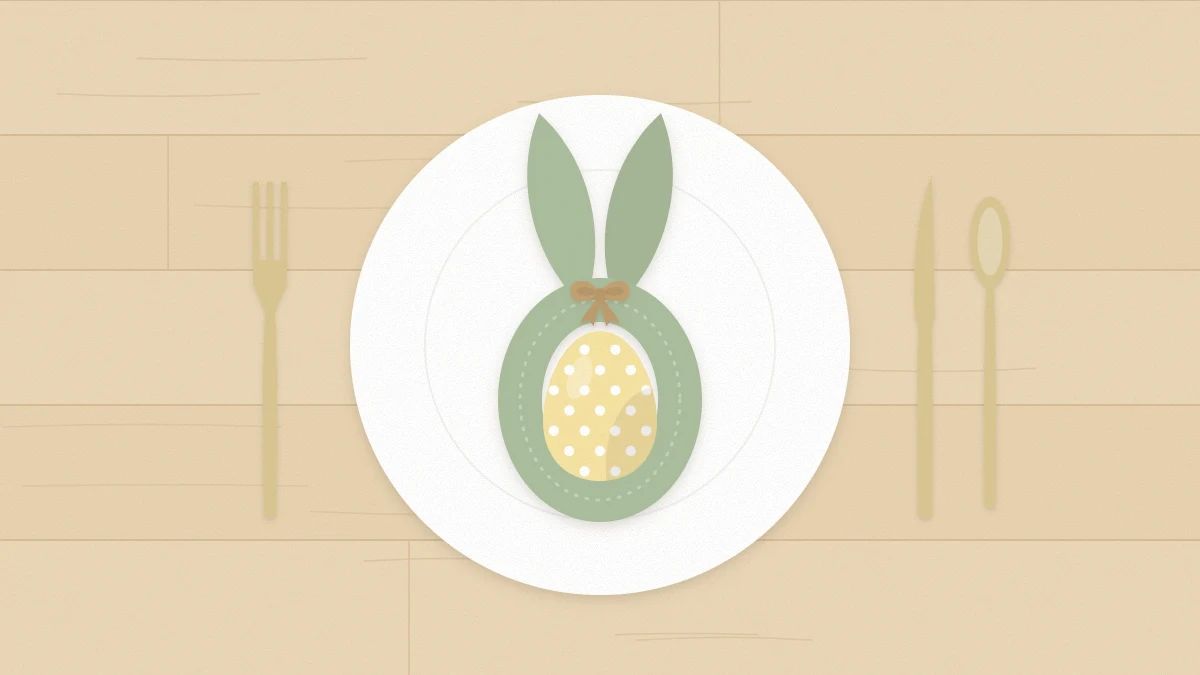
This fold turns a square napkin into a rolled band with two upright points, tied around an egg so the points read as ears. It works best with cotton or linen napkins about 18 to 20 in (46 to 51 cm) square. A light pressing beforehand helps the ears stand.
- Lay the napkin flat as a square, wrong side up.
- Fold it in half corner to corner to make a triangle, with the long folded edge nearest you.
- Starting at that long edge, roll or fold the napkin upward in bands about 1.5 in (4 cm) wide until you reach the point. You now have a long strip with tapered ends.
- Set a craft egg at the center of the strip. Bring both ends up and around the egg so they meet above it.
- Tie the two ends together directly above the egg with twine or narrow ribbon, snug enough to hold the egg in the loop.
- Shape the two ends above the tie into ears, opening the layers slightly so they look fuller.
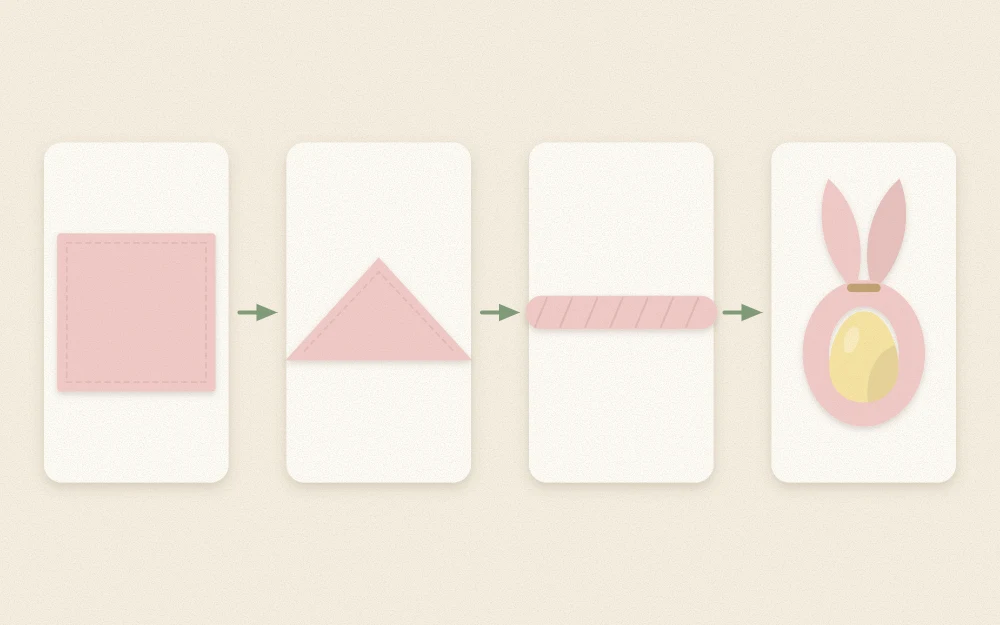
Stand the finished napkin upright on the plate with the egg at the front. If the ears lean, tie a little higher to shorten them.
Which egg to use
The egg inside the fold is a prop, so choose one that looks good plain and can be collected and stored afterward. Any egg that touches a napkin your guests will use should be a craft egg kept as decoration: a wooden, paper mache, plastic or ceramic form. Do not tie a real egg into a napkin that will be used at the meal.
Wooden eggs have enough weight to keep the napkin from tipping. Paper mache eggs are lighter and take paint well. Leave them plain, paint them in one flat color, or wrap a single band of twine around the middle; heavily decorated eggs compete with the fold.
Tip
Fold and tie the napkins the day before and stand them in a shallow box. Setting the table then takes only a few minutes.
A pocket fold as the quieter alternative
If upright ears feel too playful for the table, a pocket fold lies flat and holds cutlery, a card or a sprig. It also suits thick napkins that will not roll neatly.
- Fold the napkin in half, then in half again to make a small square, with the four loose corners at the top right.
- Fold the top layer only down diagonally, so its corner meets the bottom left corner.
- Turn the napkin over. Fold the left third in, then the right third over it.
- Turn it back. The diagonal band on the front is now a pocket.
Egg-shaped name cards
Cut name cards from cardstock of about 65 lb (176 gsm) so they stay flat and stand up when propped. An egg about 3 in (7.5 cm) tall is large enough for a first name and small enough to sit above a plate. Fold a scrap of paper in half, draw half an egg against the fold, cut it out, and use that as the template for every card.
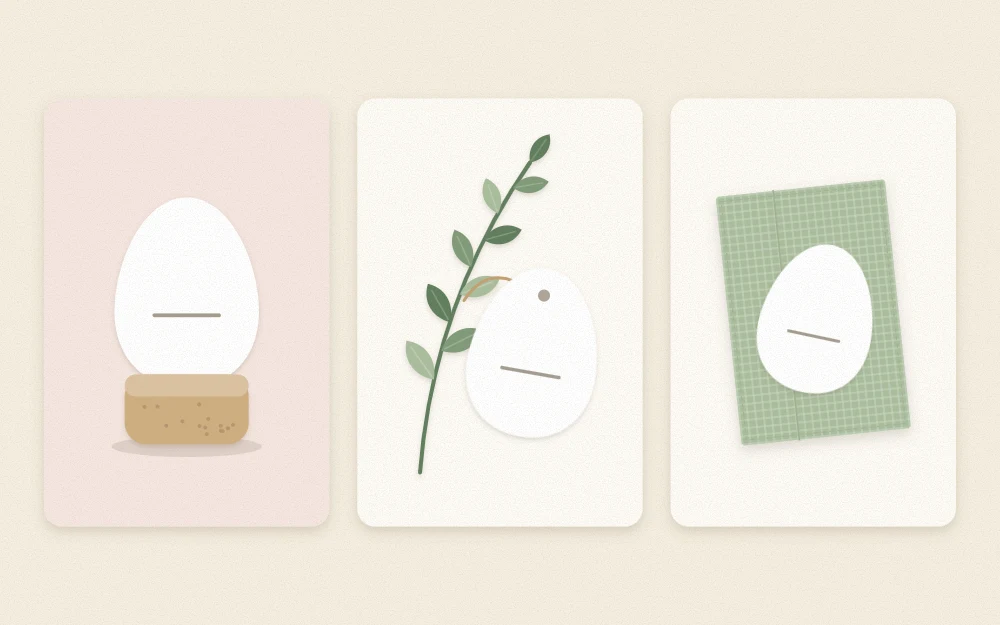
Leave the cards blank until you know the seating, then write names by hand in one pen color. There are three easy ways to display them:
- Propped. Cut a slit across the top of a cork and stand the card in it.
- Tied. Punch a small hole at the top and tie the card to a sprig with thread.
- Laid flat. Rest the card on the napkin, slightly off-center.
For a second shape, a small bunny head cut from the same cardstock works as a card or beside the glass. The outline is explained in the paper bunny silhouette tutorial and scales down well.
The finishing detail
Each setting needs one small extra and no more. Pick a single idea and repeat it for every guest.
- A sprig. A short stem of faux or fresh greenery, about 4 in (10 cm) long, tucked under the twine or into the pocket.
- A tiny nest. A loose ring of raffia, moss or shredded paper about 2.5 in (6 cm) across, holding one or two small craft eggs, placed above the plate.
- A ribbon tail. A length of ribbon in the accent color left long from the napkin tie.
Small craft eggs and loose moss are easy to scatter, so keep them out of reach of young children at the table.
Check the setting before repeating it
Sit down at the test setting. The napkin should not block the view of the person opposite, the card should be readable from the chair, and nothing should need moving before a guest can pick up a fork. Remove one element if the plate looks crowded.
Once it works, count what you need for the full table, add one spare of everything, and make the pieces in batches: all the folds, then all the cards, then all the details.
Frequently asked questions
Can paper napkins be used for the bunny-ear fold?
Large, thick paper napkins can work, but they crease sharply and tear if tied tightly. Choose a dinner-size napkin, roll it loosely instead of folding in flat bands, and tie it with soft ribbon instead of thin twine. Cloth napkins in cotton or linen hold upright ears much more reliably.
How far ahead can the place settings be prepared?
Name cards and small nests can be made a week or more ahead and kept flat in a box. Napkins can be folded and tied the day before and stored upright. Add fresh sprigs on the day itself so they do not wilt; faux greenery can be tucked in at any time.
What size should a name card be?
An egg shape about 3 in (7.5 cm) tall suits most plates and leaves room for a first name written by hand. For a crowded table with small plates, reduce it slightly. Keep every card the same size by tracing one template instead of drawing each egg separately.