Easter Table Decor Ideas: Planning a Handmade Spring Table
Plan a handmade Easter table before making a single piece: one palette, a low centerpiece, the right surface, matching place settings and a small detail per guest, with a checklist for four to eight.
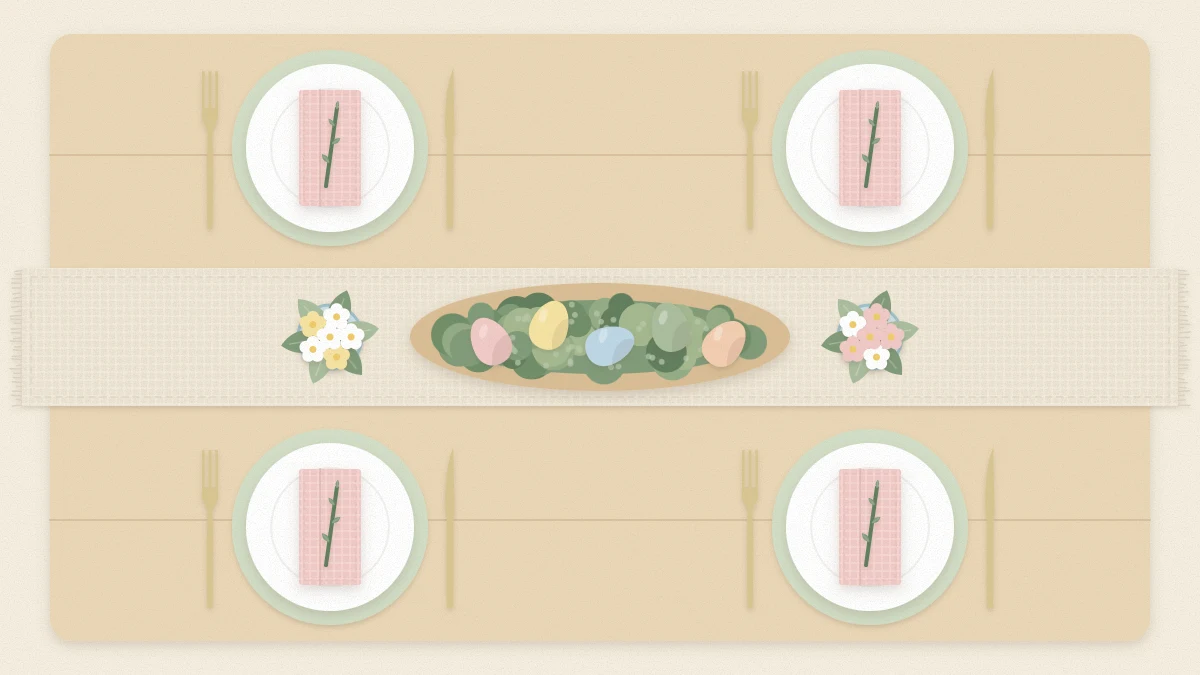
The best Easter table decor ideas start on paper, not at the craft table. A spring table looks calm and deliberate when every piece on it answers to one plan, and cluttered when each item was made on its own and introduced to the others on the day.
So before cutting, gluing or folding anything, decide five things: the palette, the centerpiece, the surface, the place settings and one small handmade detail for each guest. The rest is simply working through a list.
Start with one palette
Choose three colors and a neutral, and hold everything on the table to them. A typical spring set is sage, blush and cream with natural wood or linen as the neutral, but blue and white or yellow and gray work on the same principle.
Look at what is fixed first. The dinner plates, the table surface and the chairs are already part of the scheme, so the palette has to sit comfortably with them. White plates accept almost anything; patterned plates should supply at least one of your three colors.
The guide to Easter color palettes sets out five combinations and a quick way to test one on paper before you commit to fabric and ribbon.
Sketch the table before you make anything
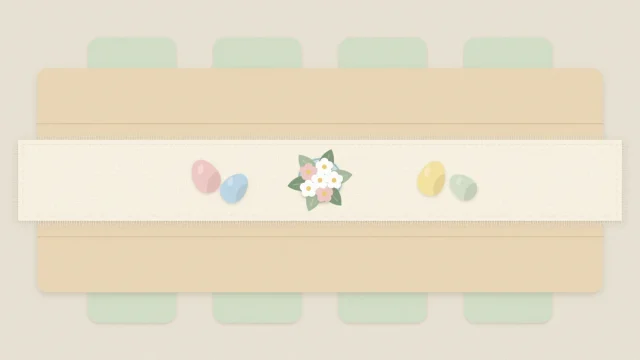
Draw the table from above as a simple rectangle or circle. Add a strip for the runner, an oval for the centerpiece and a circle for each plate. The sketch takes two minutes and answers the questions that otherwise appear at the last moment.
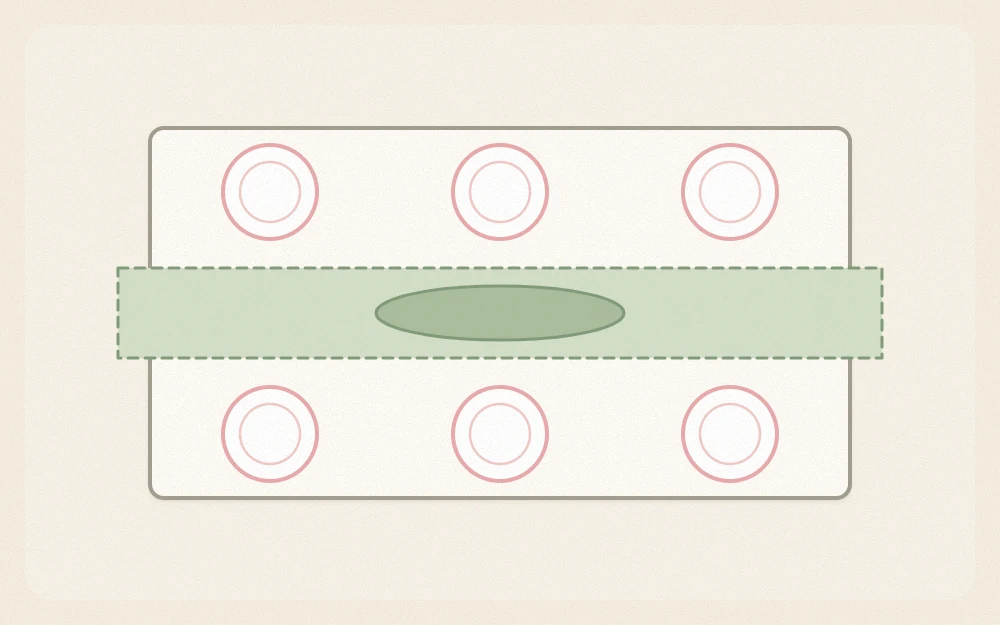
Measure as you sketch. Each guest needs roughly 24 in (60 cm) of table edge to sit comfortably, and a place setting reaches about 15 in (38 cm) in from the edge. Whatever is left in the middle is the space the centerpiece and serving dishes have to share.
One centerpiece, kept low
A single centerpiece reads better than several competing arrangements. Keep it low enough to see and talk across: under about 12 in (30 cm) is a useful limit, and lower still for a small table.
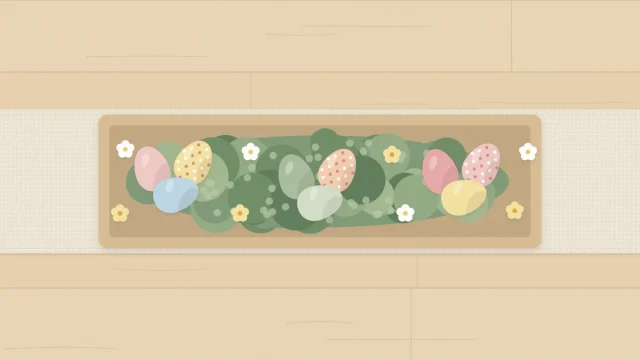
Match the shape to the table. A long tray or shallow box suits a rectangle, and a round bowl suits a round table. A bed of moss with clusters of eggs and a few short stems gives texture without height, and the DIY Easter centerpiece tutorial walks through that arrangement.
When you would like more along the length of a long table, repeat small elements instead of adding a second focal point. Three bud vases or a loose line of eggs on either side of the main piece extend it without blocking anyone’s view.
Watch out
Paper, moss, dried stems and ribbon should be kept away from open flames. Flameless LED candles give a similar glow and can sit right beside handmade decorations.
Runner, cloth or bare wood
The surface is the largest block of color on the table, so settle it early.
- Bare wood suits a natural palette and lets a moss centerpiece stand out. Add placemats or chargers if the table needs protecting.
- A runner defines the middle of the table and frames the centerpiece while leaving wood visible at each place. A width of about one third of the table is a reliable proportion.
- A full cloth softens the room and hides a worn surface. Keep it plain when the plates or napkins carry pattern.
A runner is also the simplest of the three to make by hand. The no-sew Easter table runner guide covers a frayed fabric version and a stamped kraft paper one, with a formula for the length.
Plan the place settings
Build each setting in layers and stop while the plate still has room to breathe: a charger or placemat, the plate, a napkin, cutlery, then one detail on top. Every setting should match, since repetition is what makes a table look planned.
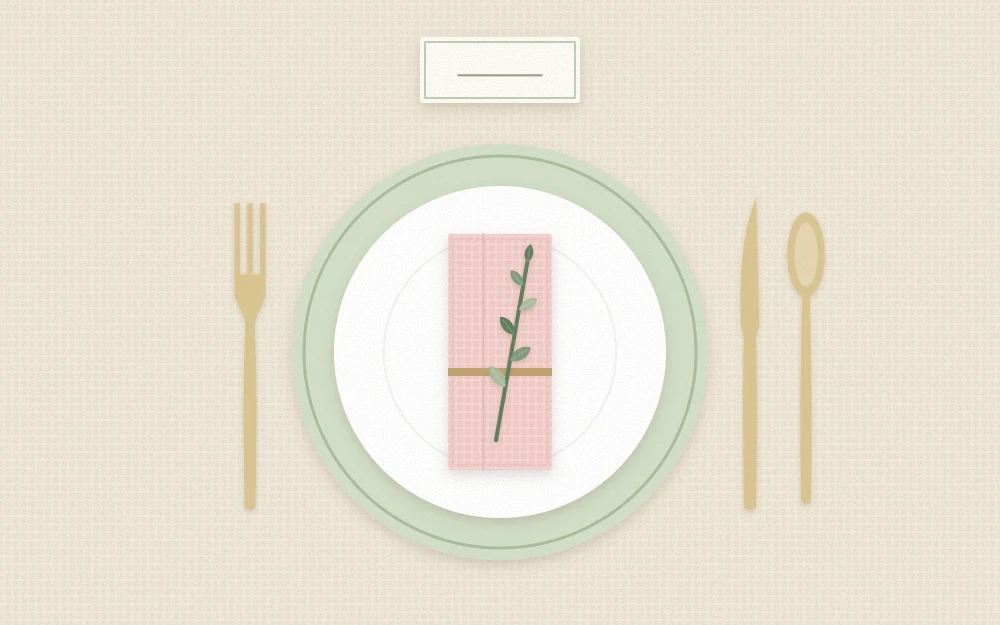
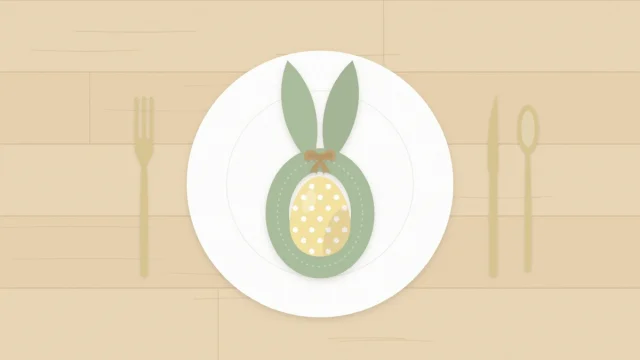
The napkin is the easiest place to bring in an accent color. A plain fold with a sprig tucked in suits a relaxed lunch, while a shaped fold adds a little occasion. Step-by-step folds and name card ideas are in the guide to Easter place settings.
One handmade detail per guest
A small handmade piece at each place makes more impression than an elaborate object in the middle. Choose one idea and repeat it for everyone:
- An egg-shaped name card in cardstock from your palette
- A decorative craft egg tied to the napkin with twine
- A sprig of faux or fresh greenery bound with a narrow ribbon
- A tiny nest of paper shred holding a single painted wooden egg
Make one sample first and set it on a plate. If it crowds the setting or tips over, simplify it before making the rest.
A checklist for four to eight guests
| Item | Table of four | Table of six | Table of eight |
|---|---|---|---|
| Centerpiece | 1 small | 1 medium | 1 long |
| Chargers or placemats | 4 | 6 | 8 |
| Napkins and details | 4, plus 1 spare | 6, plus 1 spare | 8, plus 2 spare |
| Bud vases or LED candles | 2 | 2 to 4 | 4 to 6 |
Spares matter. A napkin detail that tears or a name card with a smudge is easy to replace when an extra is already made.
What to make first
Work from the pieces that take longest and keep best toward the ones that are quick or perishable.
- A week or more ahead: the runner, and any painted or wrapped eggs that need drying time.
- A few days ahead: name cards and the per-guest details, plus the centerpiece base without fresh stems.
- The day before: press the napkins and runner, and set the table fully as a rehearsal.
- On the day: add fresh stems or sprigs, switch on the LED candles and adjust spacing.
Tip
Set one complete place and the centerpiece a few days early, then sit down at it. Anything that blocks a view or crowds a plate shows up at once.
Frequently asked questions
How far ahead should I start decorating an Easter table?
Begin durable handmade pieces such as a runner, name cards and decorated craft eggs a week or more ahead, since paint and glue need time to dry. Set the whole table the day before as a rehearsal, and leave fresh stems and final adjustments for the day itself.
How tall should an Easter centerpiece be?
Keep it low enough that seated guests can see one another across the table, which in practice means under about 12 in (30 cm). On a small table, lower is better. Taller branches or arrangements are better placed on a sideboard or mantel than between the plates.
Do I need a tablecloth for an Easter table?
No. Bare wood with placemats or a runner down the middle looks fresh and suits natural spring materials. A full cloth is useful when the surface is worn or the room needs softening. Choose whichever sits best with your plates and your palette.