Yarn-Wrapped Easter Eggs on Craft Egg Forms
Wrap plastic or foam craft eggs in cotton yarn or twine: start with a flat spiral at the wide end, glue in short sections, keep the rows tight, change color for stripes and finish neatly at the tip.

Tutorial at a glance
Materials
- Plastic, foam or paper mache craft eggs
- Cotton yarn, embroidery floss or jute twine
- Tacky glue
- Small flat brush
- Sharp scissors
- Egg cup or bottle cap to hold the egg
Yarn wrapped easter eggs have a soft, matte surface that paint cannot imitate. A plain craft egg, a length of cotton yarn and a little glue are all the project needs, and the technique is the same whether you choose chunky yarn, fine floss or rough jute.
The one skill to learn is a neat start. Once the first flat spiral is in place at the wide end, the rest of the egg is a matter of winding, gluing in short sections and keeping the rows snug.
Egg forms and yarn to choose
Plastic and foam craft eggs are the best base. They are light, their smooth surface lets the yarn lie evenly, and they do not break under the gentle pressure of wrapping. Paper mache eggs work well too. A real blown shell is too fragile for this technique, since the yarn has to be pulled taut as it goes on.
If your plastic eggs are the kind that open in two halves, run a line of glue around the seam and let it set before you begin. A bright egg can show through pale yarn, so choose white or cream forms, or give colored ones a quick coat of white acrylic craft paint.
For yarn, smooth cotton in a medium weight is the easiest to control. It has little stretch and almost no fuzz, so the rows stay crisp. An egg about 2.5 in (6 cm) long takes roughly 4 to 5 yards (3.7 to 4.6 m) of medium yarn, less with chunky yarn and considerably more with floss.
Which glue works best
Tacky glue is the most forgiving choice. It grabs quickly, dries clear and gives you a minute to nudge a row into place. Apply it with a small flat brush or a fingertip in a thin, even film; a thick layer seeps between the strands and dries shiny.
Hot glue is faster but sets in seconds and leaves ridges under fine yarn, and high heat can melt foam. It is a tool for adults, and a low-temperature gun is the better option here. Double-sided tape wrapped around the egg is a mess-free alternative for jute. For a fuller comparison by material, see the guide to glue for Easter crafts.
Start with a flat spiral at the wide end
Beginning at the wide end gives you the largest, flattest surface for the trickiest part, and it lets the finish land on the narrow tip where it is easiest to hide.
- Stand the egg tip-down in an egg cup, a bottle cap or a small glass so the wide end faces up.
- Brush glue over a circle about 1 in (2.5 cm) across at the very center of the wide end.
- Press the end of the yarn onto the center point. Coil the yarn tightly around it, flat against the egg, like a tiny coiled rug.
- Hold the coil with a fingertip for about half a minute, until it stops sliding.
- Continue outward for three or four rounds, pressing each round against the one before.
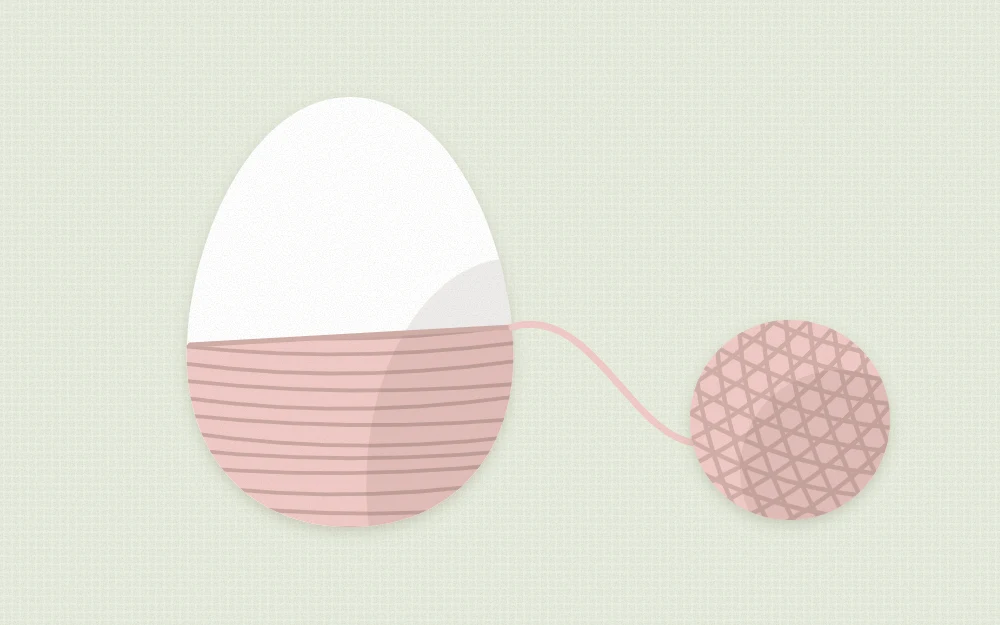
If the center coil lifts, there was too little glue or it was released too soon. Peel it back, add a dot of glue and hold it again before going on.
Wrap in short glued sections
Turn the egg over once the start is secure, so you can hold it by the tip. From here, work in bands.
Brush glue around the egg in a band no more than about 0.5 in (1.3 cm) wide, then wind the yarn over it. Glue the next band only when the first is covered. Wider bands dry before the yarn reaches them, and wet glue under your fingers ends up on the surface of the yarn.
Three habits keep the rows tidy:
- Turn the egg, not the yarn. Hold the yarn still under light tension and rotate the egg into it.
- After every two or three rounds, push the rows together with a thumbnail so no egg shows between them.
- Keep the tension even. Yarn pulled too tight slides toward the narrow end; yarn laid too loose sags.
Around the widest part of the egg the rows sit easily. As the egg narrows toward the tip, each round wants to slip, so shorten the glued bands and pause a little longer between rounds.
Tip
Keep a damp cloth beside you and wipe your fingertips often. Most fuzzy or shiny patches on a finished egg come from glue carried on the fingers, not from the glue under the yarn.
Change color for stripes
Stripes need no special technique, only a neat join. Cut the first color and glue its end flat against the egg. Butt the end of the new color right up against it and continue winding in the same direction. Do not overlap the two ends, or the join will make a bump.
Make every color change on the same side of the egg. That side becomes the back, and it faces down in a bowl. Bands of three to six rounds read clearly as stripes; a single round of a contrasting color makes a fine pinstripe.
Finish at the tip
The last few rounds are the smallest. Brush glue over the whole remaining tip, wind the yarn in a tightening spiral to the very point, and cut it with about 0.25 in (6 mm) to spare. Add a dot of glue and press the end into the center of the spiral with a toothpick.
Stand the egg tip-up to dry. Tacky glue is usually touch-dry in about an hour, but check the label and leave the eggs overnight before stacking them.
Textures: chunky yarn, embroidery floss and jute
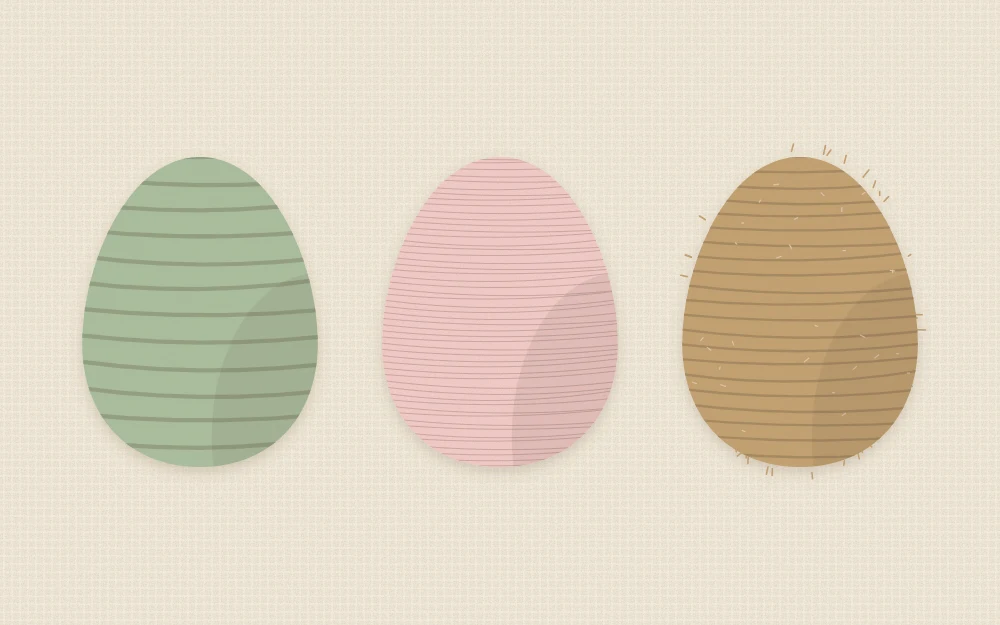
- Chunky yarn covers an egg in a few minutes and gives a cozy, ribbed look. The start and finish are harder to hide, so trim the ends at a slant.
- Embroidery floss is slow, since each round is so narrow, but the result is smooth with a slight sheen, and very fine stripes are possible. Use all six strands together.
- Jute twine looks rustic and suits natural palettes. It is stiff, so use generous glue at the start and tip, and expect a slightly hairy surface.
Ways to display wrapped eggs
A shallow bowl of five or seven eggs in related colors is the simplest display. They also add texture among painted and paper eggs in a decorative Easter basket, and because they weigh so little, they can be glued among plain eggs on an Easter egg wreath.
Store the eggs in an egg carton or a box with tissue between them, somewhere dry, and brush off dust with a soft, clean paintbrush.
Frequently asked questions
How much yarn does one egg need?
A standard craft egg about two and a half inches long takes roughly four to five yards of medium-weight cotton yarn. Chunky yarn needs about half that, and embroidery floss or fine thread needs several times more. Cut generously or work straight from the ball and trim at the end.
Why does the yarn slide off the narrow end of the egg?
The surface slopes steeply near the tip, so each round tends to slip toward the point. Glue shorter bands there, keep the tension light, and hold each round for a few seconds before adding the next. Starting at the wide end means only the finish has to cope with the slope.
Can I wrap real eggshells in yarn?
A blown shell can crack under the tension needed to keep the rows tight, so a craft egg form is the better base. Plastic, foam, wood and paper mache forms all take glue well, weigh little and can be stored and reused as decorations year after year.