Easy DIY Easter Decorations to Make in an Afternoon
Six quick Easter projects in paper, felt, branches and jars, with what each needs, roughly how long it takes and how to combine two or three in one room.
The most convincing easy DIY Easter decorations are small, quiet and made from very ordinary materials: a few sheets of cardstock, a scrap of felt, some branches from the yard and a jar from the recycling bin. None of them needs special skill, and most can be finished between lunch and dinner.
Below are six quick projects grouped by material, with what each one needs and roughly how long it takes. Pick two or three that share a color and a place in the room, and the result looks planned rather than scattered.
What makes a project a good first one
A beginner project has three qualities. It uses flat or forgiving materials, it has no step that can ruin the whole piece, and it dries or sets quickly enough that you can hang it the same day. Paper and felt meet all three. Branches and jars need no making at all, only arranging.
Before you start, check what you already own. Scissors, a glue stick, a pencil and twine cover most of this list. If you need to fill gaps, the starter kit of Easter craft supplies separates the true basics from the extras you can skip for now.
Paper projects
1. Paper egg garland
Egg shapes cut from cardstock and strung along a length of twine. It is the fastest way to fill an empty stretch of wall, a mantel edge or a window frame. You need three or four colors of 65 lb (176 gsm) cardstock, scissors, a hole punch or a needle, and about 5 ft (1.5 m) of twine. Allow about 30 to 45 minutes. The full method, including spacing and how to stop the eggs from spinning, is in the paper Easter egg garland tutorial.
2. Bunny silhouette
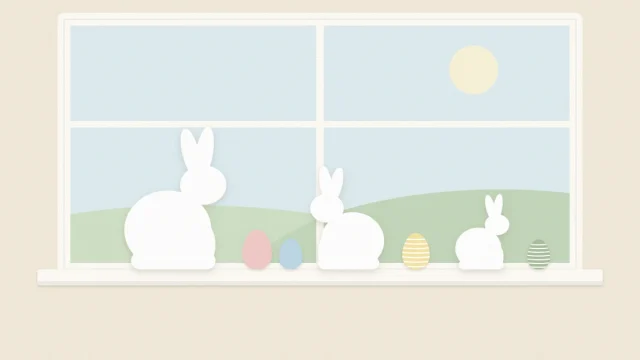
A single bunny shape, cut from one sheet of cardstock and leaned against a wall or propped on a shelf. A seated profile about 8 in (20 cm) tall reads clearly from across a room. You need one sheet of heavy cardstock, a pencil and sharp scissors, and about 20 minutes. Templates and proportions are covered in the guide to paper bunny silhouettes.
Felt and fabric projects
3. Wrapped egg
A craft egg form wrapped in twine, yarn or narrow ribbon. Start at the wide end with a dot of tacky glue, coil the twine tightly around the form, and add a little more glue every few turns. Wood, paper mache, plastic and foam forms all work. One egg takes roughly 15 minutes, plus drying time; check the label on your glue. Three eggs in a shallow bowl make a finished display.
4. Small hoop wreath
An embroidery hoop or a plain metal ring, about 6 in (15 cm) across, with a few felt leaves and one felt flower glued to the lower third. Leaving most of the hoop bare is what keeps it light. You need the hoop, two colors of felt, scissors, tacky glue and a loop of ribbon for hanging. Allow about 45 minutes, plus drying time.
Branch and jar projects
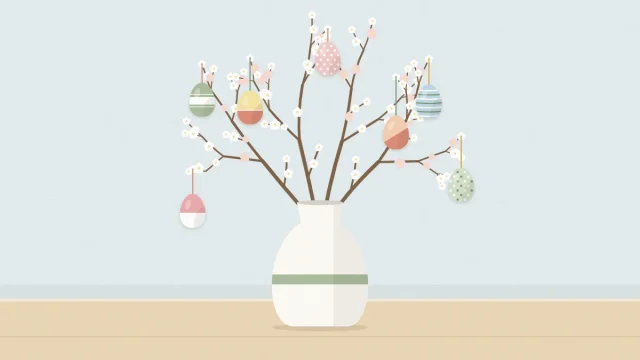
5. Branch with hanging eggs
Two or three bare branches in a heavy vase, with lightweight eggs hanging from thread loops. Choose branches with several side twigs so the eggs sit at different heights. Paper or plastic eggs are light enough that thin twigs do not droop. Arranging takes about 20 minutes once the eggs have their loops.
6. Jar with stems
A clean glass jar, a band of twine or ribbon tied around the neck, and a handful of tulips, daffodils or faux stems. This is the simplest project on the list and often the one that ties the others together, because the flowers bring in a fresh color. Allow about 10 minutes.
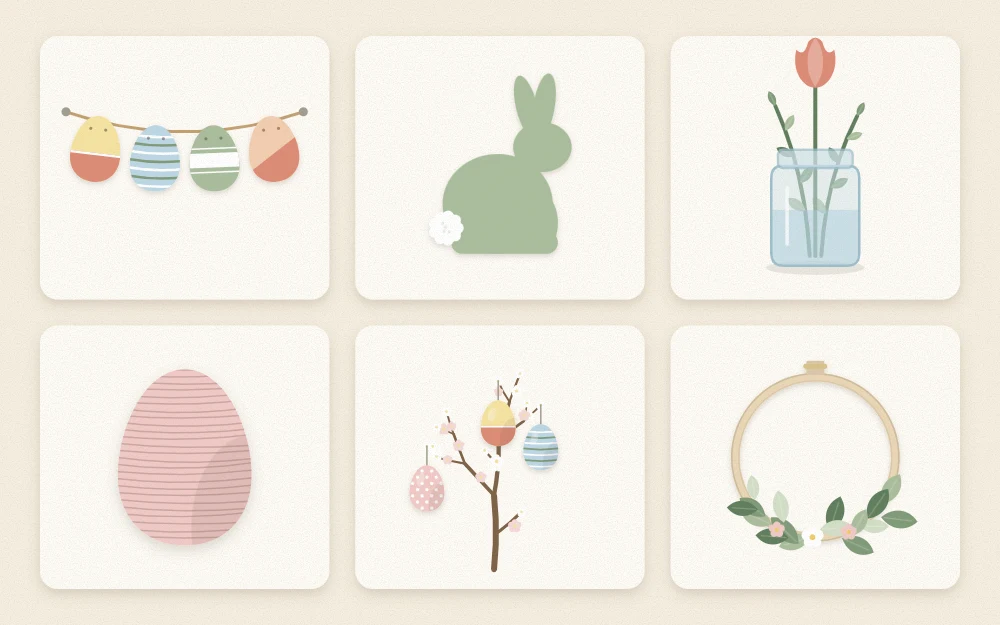
The six projects at a glance
| Project | Main material | Rough time | Best spot |
|---|---|---|---|
| Paper egg garland | Cardstock, twine | About 30 to 45 minutes | Mantel, window, shelf edge |
| Bunny silhouette | Heavy cardstock | About 20 minutes | Shelf, console table |
| Wrapped egg | Craft egg form, twine | About 15 minutes each | Bowl, tray, place setting |
| Small hoop wreath | Hoop, felt | About 45 minutes | Door, wall, cabinet front |
| Branch with eggs | Branches, light eggs | About 20 minutes | Entry table, sideboard |
| Jar with stems | Glass jar, flowers | About 10 minutes | Anywhere |
Times are rough guides for a first attempt and do not include drying.
How to pick two or three that work together
Six projects in one room is too many. Two or three, placed close together, look far more deliberate. A useful way to choose is to take one piece that hangs, one that stands and one that sits low.
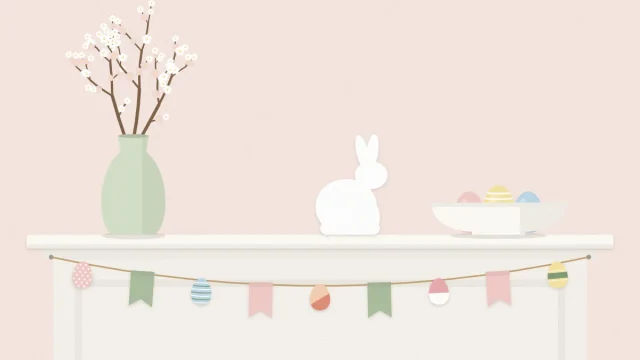
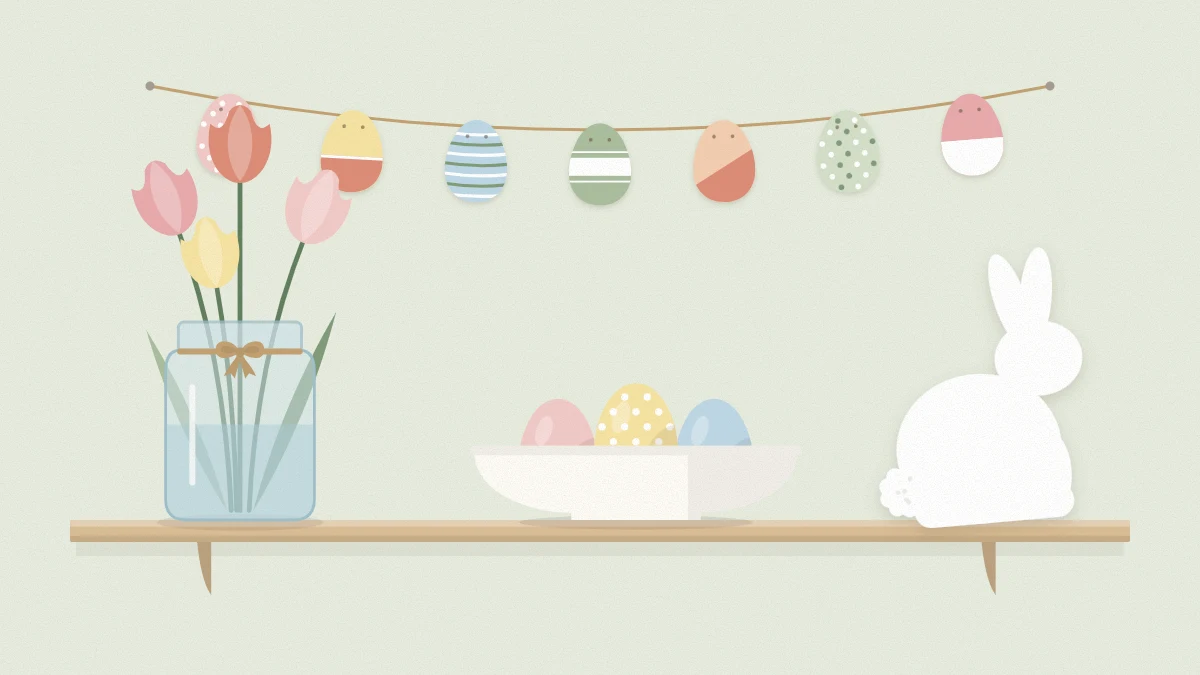
- For a shelf or mantel: the egg garland above, the bunny silhouette leaning at one end, and a bowl of wrapped eggs at the other.
- For an entry table: the branch with hanging eggs as the tall piece, with the hoop wreath on the wall or door beside it.
- For a dining table: the jar with stems in the center and one wrapped egg at each place.
Then hold the group to a small set of colors. Three colors plus a neutral such as cream, white or natural twine is plenty. If the garland is blush, sage and butter yellow, cut the bunny from cream and wrap the eggs in natural twine. The guide to Easter color palettes gives five ready combinations if you would rather not choose from scratch.
Tip
Cut all the paper pieces for both paper projects in one sitting. Cutting is the slow part, and the same stack of cardstock keeps the colors consistent.
Hanging and placing without marks
Paper decorations weigh almost nothing, so removable adhesive hooks or small pieces of removable mounting putty are enough for garlands and hoops. Test the putty on a hidden patch of paint first. Lean silhouettes rather than fixing them, so you can move them as the arrangement changes.
Watch out
Keep paper, felt and dry branches well away from candle flames; flameless LED candles are the easier choice near a mantel display. Small eggs and beads should stay out of reach of young children.
Frequently asked questions
What is the easiest Easter decoration to make first?
A jar of spring stems with a ribbon around the neck takes about ten minutes and needs no cutting or glue. If you want something handmade, a paper egg garland is the next step: it only asks for cardstock, scissors, twine and a way to make small holes.
How many handmade decorations does one room need?
Two or three pieces grouped in one spot usually look better than many spread around. Choose one that hangs, one that stands and one that sits low, such as a garland, a silhouette and a bowl of eggs, and keep them within the same three colors plus a neutral.
Can these decorations be reused next year?
Yes, most of them. Store flat paper pieces between sheets of cardboard so they do not curl, keep wrapped eggs in an egg carton, and wind garlands loosely around a piece of card. Keep everything dry and out of direct sun so the colors stay close to the original.